
Excerpt - Configuration Task 8 for Unity and VNX
Task 8. Installing and Configuring the Dell EMC Unity/VNX/VNXe NAS Management Tool
- Download the Dell EMC Unity/VNX/VNXe NAS Management tool. You can download the software from Dell EMC's support site (requires a Dell EMC account):
https://download.emc.com/downloads/DL48750_Unity-and-VNX-FileCifsMgmt.exe-8.1.9.157.exe - Install the NAS Management tool software:
- Run the NAS Management installer as an administrator.
The Unity VNX VNXe NAS Management Setup wizard appears.
- Click Next.
The License Agreement page appears.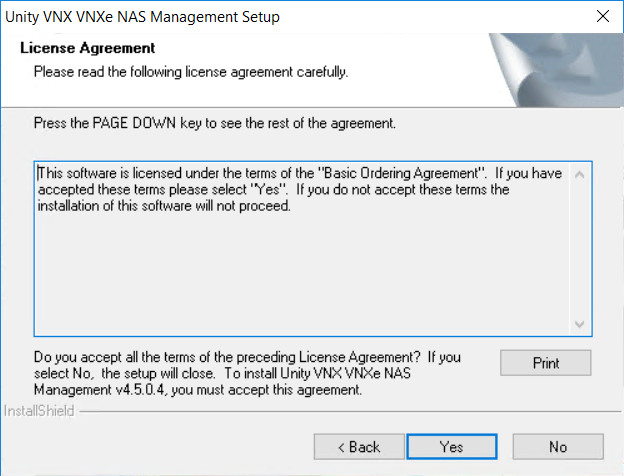
- Click Yes to accept the license agreement.
A notification about installing the 32-bit version appears.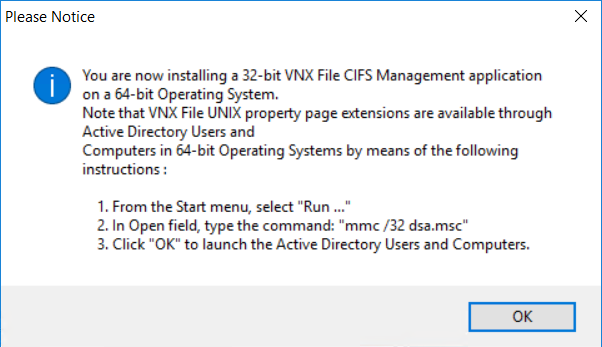
- Click OK.
The Select Installation Folder page appears.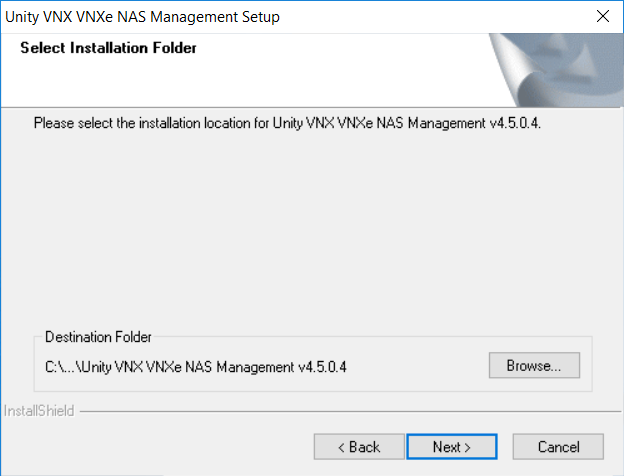
- Click Next to accept the default location.
The Select Features page appear.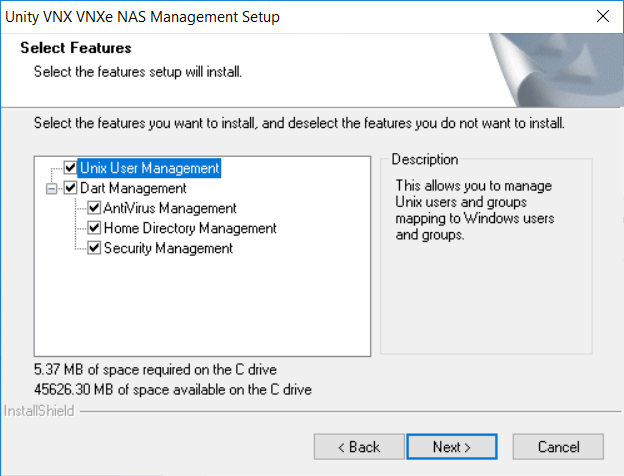
- Click Next to install all the features.
The Start Copying Files page appears.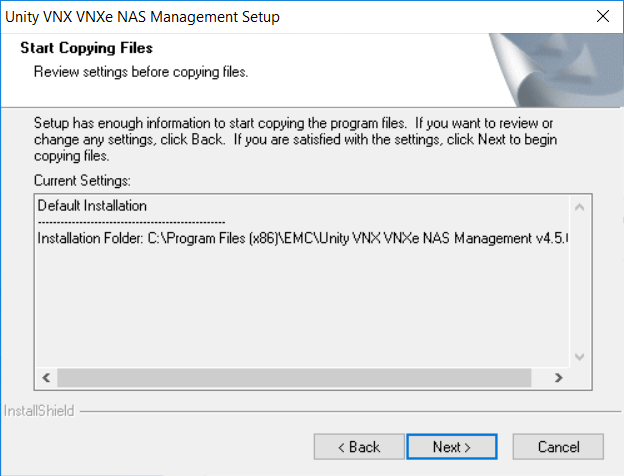
- Click Next to start the installation.
- Click Finish when the installation has completed.
- Run the NAS Management installer as an administrator.
- Open the EMC Unity/VNX/VNXe NAS Management console.
- Open the Control Panel and navigate to System and Security > Administrative Tools.
- Open EMC Unity VNX VNXe NAS Management as an administrator.
- Connect to all appropriate NAS servers:
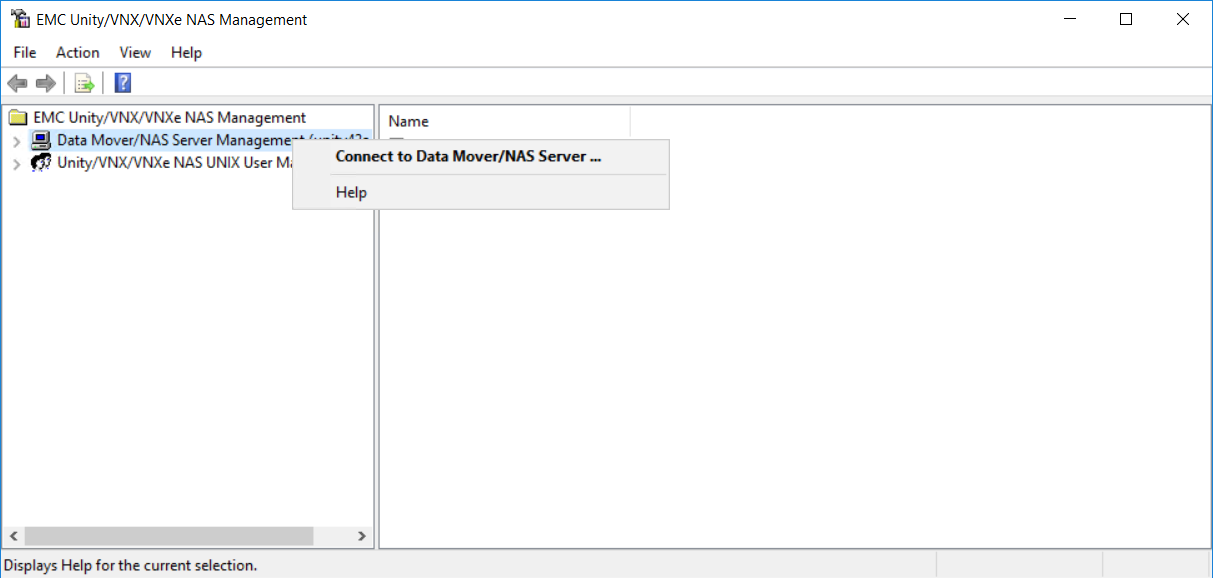
- In the navigation pane, right-click the Data Mover/NAS Server Management folder, and then select Connect to Data Mover/NAS Server… from the shortcut menu.
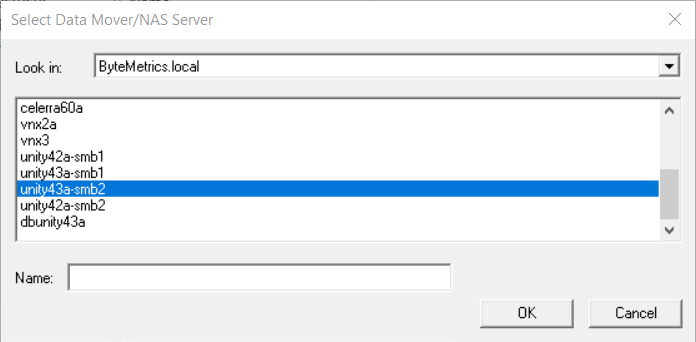
- In the Select Data Mover/NAS Server dialog that appears, select the appropriate VNX Data Mover or Unity NAS server, and then click OK.
- In the navigation pane, right-click the Data Mover/NAS Server Management folder, and then select Connect to Data Mover/NAS Server… from the shortcut menu.
- Add the Peer Agent or PeerSync service account to the EMC Event Notification Bypass and EMC Virus Checking security policies:
- Navigate to the Data Mover/NAS Server Management > Data Mover/NAS Server Security Settings >User Rights Assignment folder.
The list of user rights assignment settings appears in the details pane and includes their current setting and effective setting.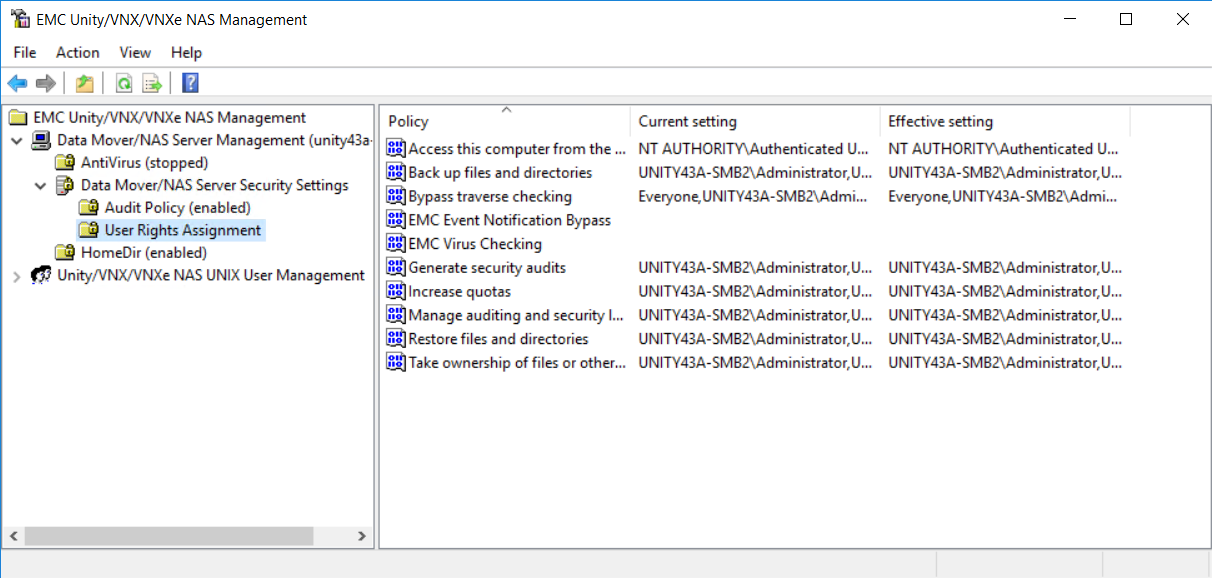
- In the details pane, right-click the EMC Event Notification Bypass policy, and then select Security from the shortcut menu.
The Security Policy Setting dialog appears and lists users or groups that are already assigned to the selected user rights assignment. If no assignments exist, the list is blank.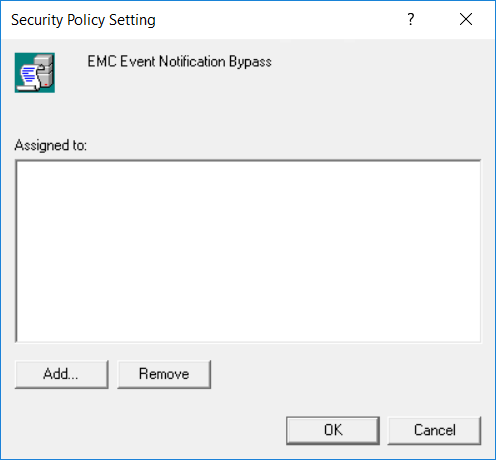
- Click Add.
The Select User or Groups dialog appears. - In the Look in box, select the domain in which the Agent or PeerSync account is located.
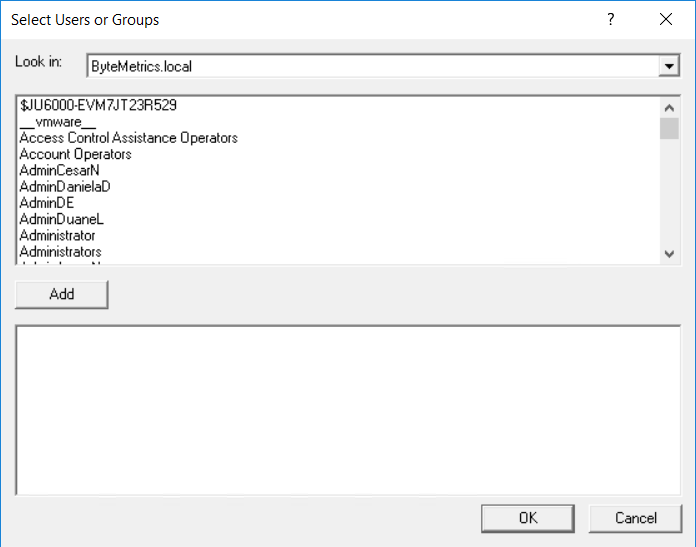
- In the upper pane, select the Peer Agent or PeerSync service account, and then click Add.
The account appears in the lower pane. - Click OK.
The account is now listed in the Security Policy Setting dialog.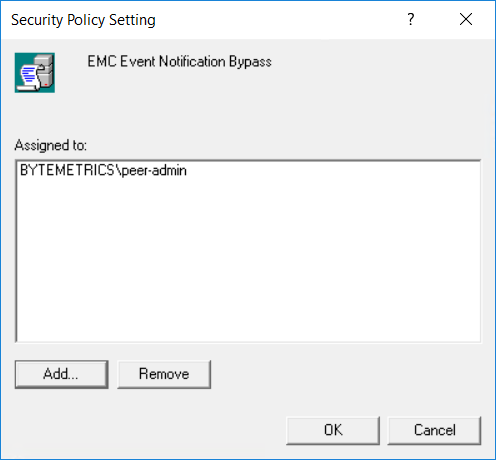
- Click OK.
The account is now assigned to the EMC Event Notification Bypass policy.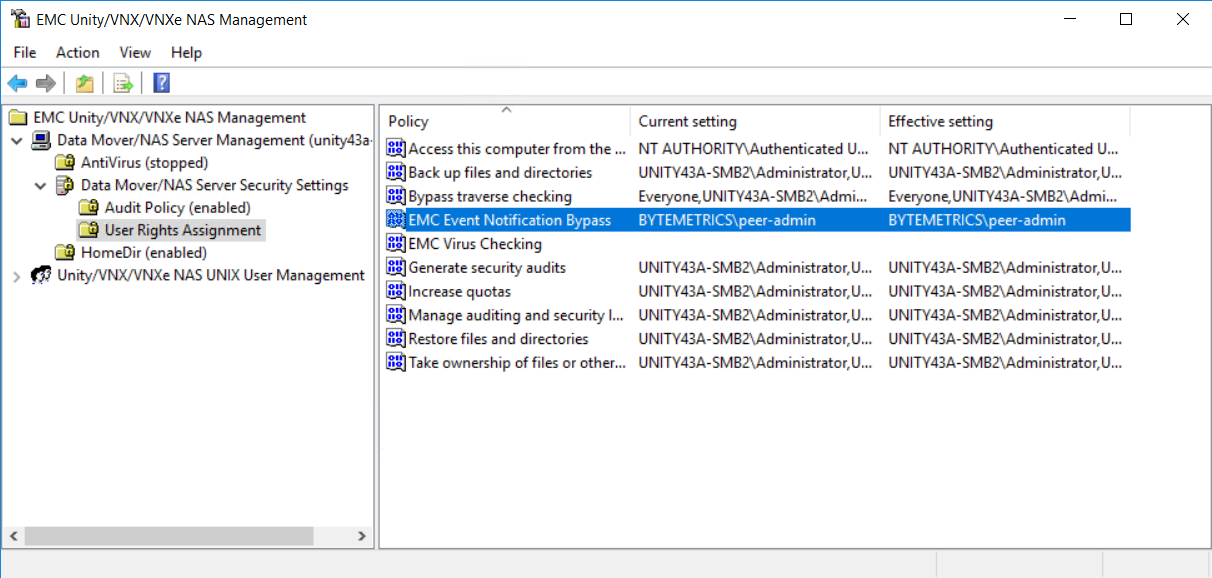
- Repeat Steps 5b-g for the EMC Virus Checking policy.
Note: No testing should be performed with this service account once these settings are in place.
- Navigate to the Data Mover/NAS Server Management > Data Mover/NAS Server Security Settings >User Rights Assignment folder.
- Restart the EMC CAVA service:
- Reopen the Services manager as an administrator.
- Select the EMC CAVA service.
- Click the Restart link.
The setup of your Unity/VNX/VNXe storage device is now complete.