
Applies to PeerGFS v6.1.0 and later
Overview
This article expands on the workflow and high-level tasks described in Creating a Job Using Scripting. It provides a detailed example of how to create a job using PowerShell and a job template. This example demonstrates how to use a job template to pass user options on to the newly created job.
Task 1: Configure NAS devices (if applicable)
Any NAS devices used for jobs need to be preconfigured in the Peer Management Center (PMC) user interface.
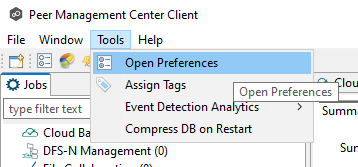
Step 1. Open the PMC, select Tools, and then select Open Preferences from the menu.
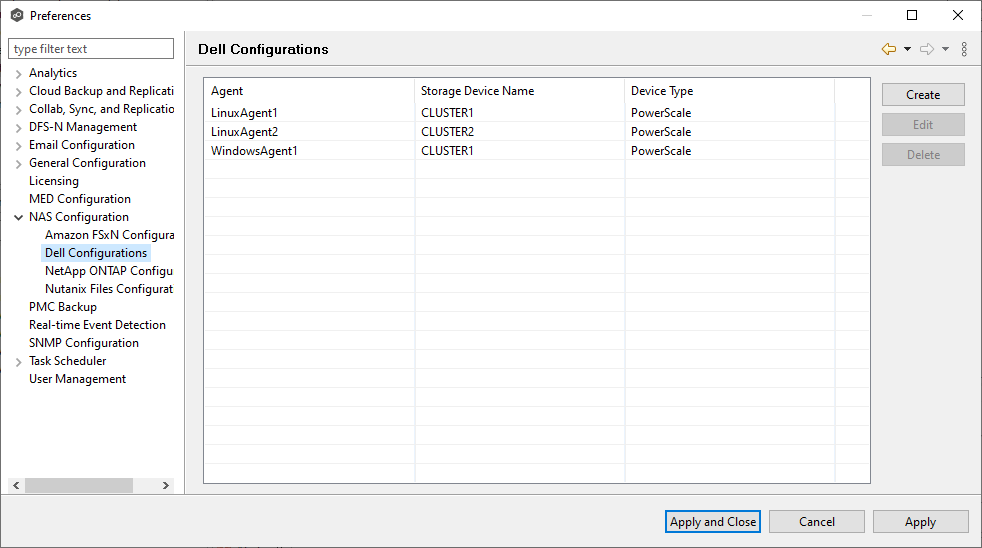
Step 2. In the NAS Configuration section, select a platform and configure the NAS devices.
For more detailed guidance on setting up NAS devices, see the PeerGFS User Guide.
Task 2: Create a template job
Creating a template job is useful when using the API to create jobs regularly. The template allows you to set parameters that are not default or available through the API.
To create the template job, run the following API command in a PowerShell terminal:
.\ConfigurePeerGFSToolkit.ps1 'C:\Users\Administrator\Documents\settings.ini'
New-PeerGFSJob -JobName TemplateJob -JobType FILE_REPLICATION
The JobType parameter can be set to FILE_COLLABORATION, SYNCHRONIZATION_ONLY, or FILE_REPLICATION.

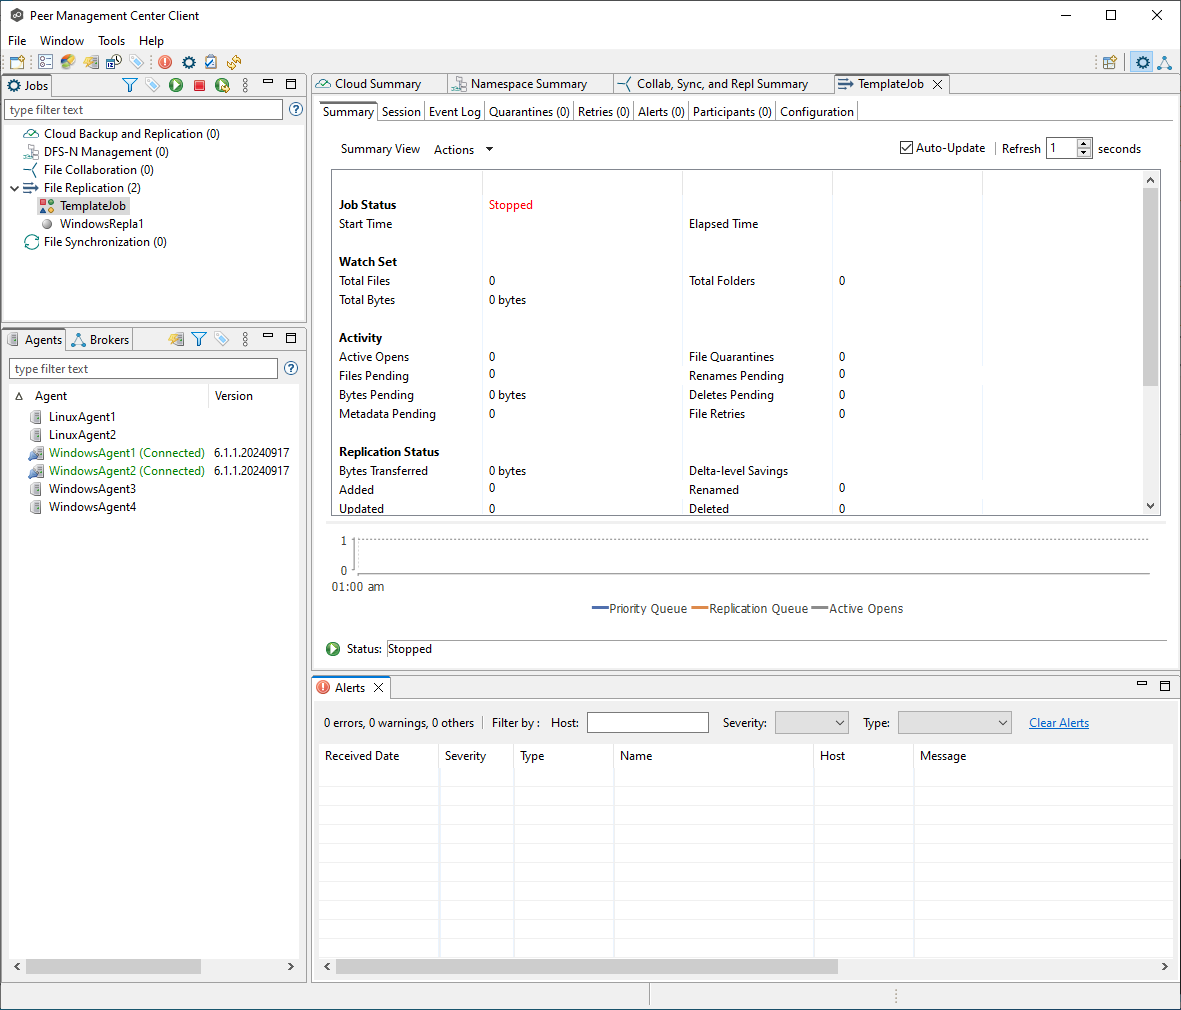
Once created, the job will appear in the user interface with a unique icon, indicating that it has no participants.
Task 3: Edit options to be passed on to new jobs
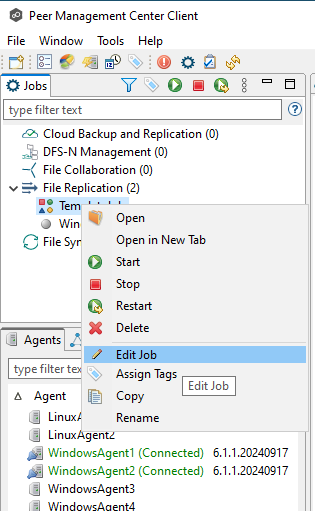
Step 1. Right-click the job and select Edit Job.
Step 2. Make the necessary changes to the job. In this example, we are adjusting the transfer size.

Step 3. Click OK to save the changes.
Task 4: Create the job
Once the previous tasks are complete, production jobs can be created via the API without further UI interaction. To create the production job, run the following command using PowerShell:
.\ConfigurePeerGFSToolkit.ps1 'C:\Users\Administrator\Documents\settings.ini'
New-PeerGFSJob -JobName WindowsRepla2 -RefJobId 101 -JobType FILE_REPLICATION
Where RefJobId is the job ID of the template job.

If the job ID was not recorded, it can be retrieved by listing all jobs:
$jobs = Get-PeerGFSJobs
$jobs.jobs | ft

For scripting purposes, the job ID can be stored in a variable:
$newJob = New-PeerGFSJob -JobName WindowsRepla2 -RefJobId 101 -JobType FILE_REPLICATION
$newJob.id

Task 5: Add participants to the job
Now that the job is created, participants need to be added. A participant consists of an Agent and the volume, share, export, or folder to be replicated.
Step 1. List available storage devices
Run the following command to list available storage devices:
$storage = Get-PeerGFSStorage
$storage.storages | ft

Storage volumes are returned as a JSON list, which can be processed logically or manually inspected. If volumes of a specific type are needed, the StorageDeviceType option can be used:
$storage = Get-PeerGFSStorage -StorageDeviceType DELL_POWERSCALE
$storage.storages | ft
Example output (filtered for DELL_POWERSCALE):

Step 2. Add participants
Each participant must be added in turn. For replication jobs, there will only be one source participant. The following command adds the source participant:
Add-PeerGFSParticipant -JobId $newJob.id -StorageDeviceId WindowsAgent1:CLUSTER1 -Path \\CLUSTER1\Data

For all other participants, the -SeedingTarget $true option must be added:
Add-PeerGFSParticipant -JobId $newJob.id -StorageDeviceId WindowsAgent2 -Path E:\Data -SeedingTarget $true
Once all participants have been successfully added to the job, you can check the job status by running the following command:
$job = Get-PeerGFSJobs -JobIds $newJob.id
$job.jobs

Task 6: Start the job
Once the job has been fully configured, it needs to be started manually. To start the job, run the following command:
Start-PeerGFSJob -JobID $newJob.id
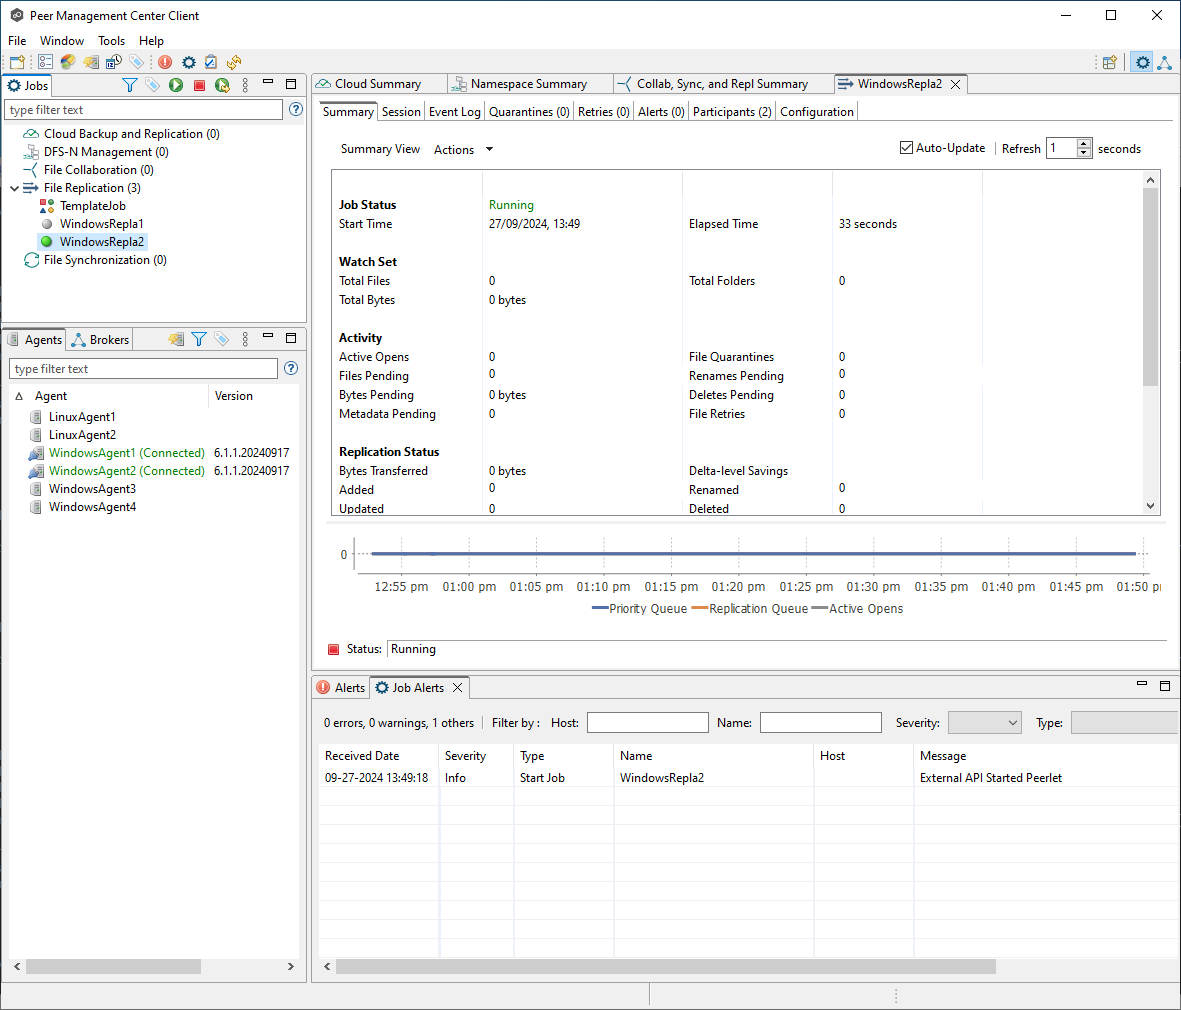
After executing the command, the job will be in a running state. You can confirm this by checking the UI, where the job will now appear as running.

Related articles
- Check .pc-trash_bin date stored times for target protection
- Creating a Job Using Bash Scripting
- Creating a Job Using PowerShell Scripting
- Creating a Job Using Scripting
- Does the EOA of NetApp ONTAPI impact PeerGFS?
- Generating Client Code for PeerGFS API with Swagger.io
- Getting Started with the PeerGFS REST API
- Performing API Operations Using Bash
- Performing API Operations Using cURL
- Performing API Operations Using PowerShell
- Scripting Methods for API Operations
- Use PowerShell to connect to the PeerGFS API