

Purpose of this Guide
The guide describes setup and configuration of the PeerIQ Virtual Appliance.
This guide assumes that you have PeerGFS already set up in your environment.
Overview
This virtual appliance is a preconfigured virtual machine image containing PeerIQ installed on a minimal deployment of Ubuntu Server 22.04 LTS and leverages Docker containers. Security packages have been configured to automatically update. As this is to be treated as a Linux host that would be normally managed by an IT team, tasks such as kernel upgrades are not automated.
Unlike other Peer Software virtual appliances, the PeerIQ virtual appliance ships with all the necessary software components already installed and running as Docker containers.
Appliance Deployment
The PeerIQ Virtual Appliance can be deployed on VMware ESXi, Microsoft Hyper-V, and Nutanix AHV.
Appliance Configuration
This section describes the configuration of the virtual appliance:
- Getting Started with the PeerIQ Virtual Appliance | GettingStartedwiththePeerIQVirtualAppliance Networking
- Getting Started with the PeerIQ Virtual Appliance | GettingStartedwiththePeerIQVirtualAppliance NetworkTimeProtocol
- Getting Started with the PeerIQ Virtual Appliance | GettingStartedwiththePeerIQVirtualAppliance Credentials
- Getting Started with the PeerIQ Virtual Appliance | GettingStartedwiththePeerIQVirtualAppliance FirstBootWizard
Networking
Network Manager is installed to handle network settings, with tools such as nmcli and nmtui pre-installed to help with more advanced network configuration. Multiple network interfaces can be added and configured. The hostname starts with PeerIQ and is followed by a unique identifier.
UFW is enabled as a firewall with the following incoming rules:
-
TCP Port 22: Allow SSH connections into the virtual appliance.
-
TCP Port 443: Allow access to the PeerIQ web interface.
-
All outgoing communication is allowed.
Network Time Protocol (NTP)
The NTP is preconfigured and uses the Ubuntu time pool (ubuntu.pool.ntp.org). If you wish to change this, edit /etc/ntp.conf, and then restart the NTP service by running sudo systemctl restart ntp.service.
Credentials
The default credentials for logging into the virtual appliance via SSH are:
-
Username: peersoftware
-
Password: password
The default credentials for logging into the virtual appliance via the web interface are:
-
Username: admin
-
Password: password
First Boot Wizard
The First Boot Wizard is stored in /opt/peersoftware/vm/ as a script called menu.sh. If you need to access this menu system after running the wizard, you can run menu.sh with escalated privileges.
Recommended Workflow
The following section addresses the typical operations necessary for the virtual appliance to host an operational PeerIQ deployment. This includes:
-
Task 1: Log In
-
Task 2: Configure Network Settings
-
Task 3: Check for Menu Updates
-
Task 5: Change the Default Password
-
Task 6: Connect PeerIQ to PeerGFS
Task 1: Log In
-
Log into the virtual appliance via the virtual console or via SSH.
-
SSH will work only if you receive a DHCP-assigned address. Consult your hypervisor vendor's documentation (ESXi, Hyper-V, or Nutanix Prism) for details on how to connect in the virtual console.
-
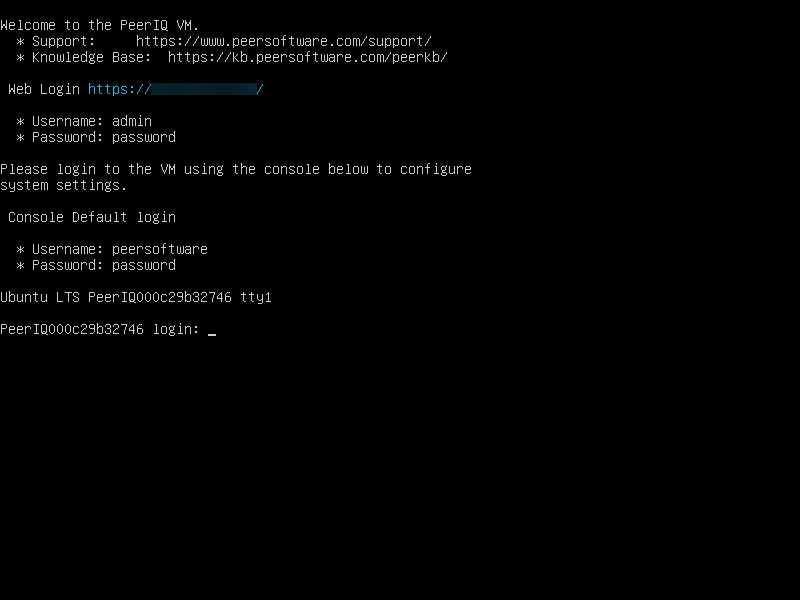
On the first boot of the virtual appliance, you will be presented with a console that displays the default login credentials. Use these default credentials for your username and password.
-
-
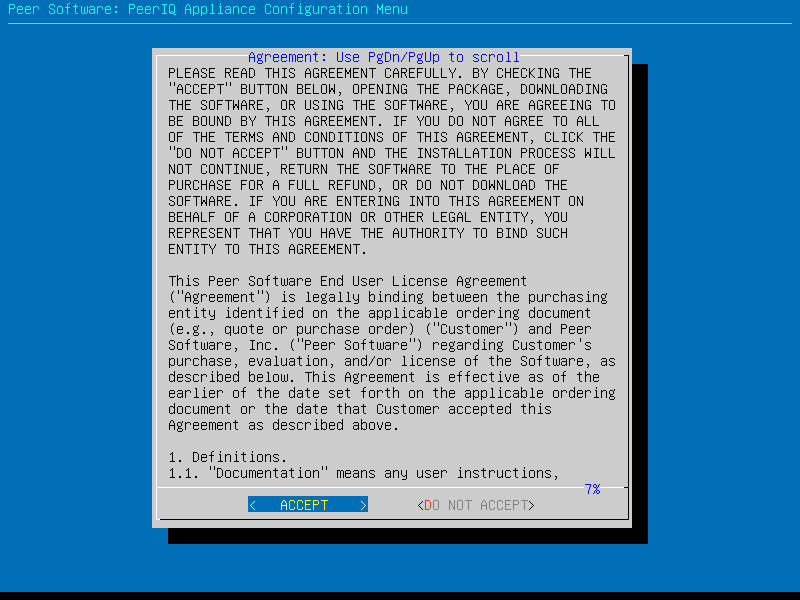
Once you have logged in, the First Boot Wizard will appear, displaying the Peer Software End User License Agreement. If you agree to the terms, use the arrow keys to select ACCEPT, and then press Enter.
Task 2: Configure Network Settings
This task is optional. By default, DHCP is turned on.
To modify the default network configuration:
-
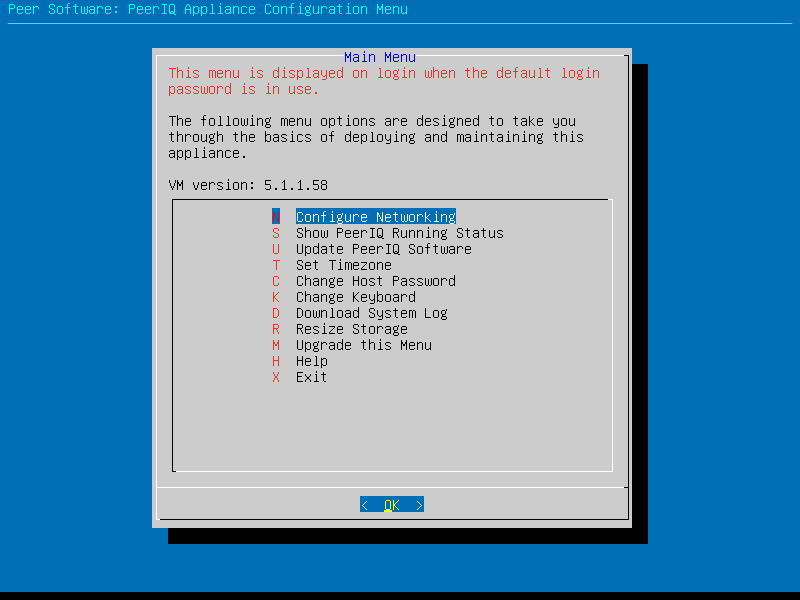
Select Configure Networking by using the up and down arrows or by pressing the letter n on the keyboard, and then press Enter.
-
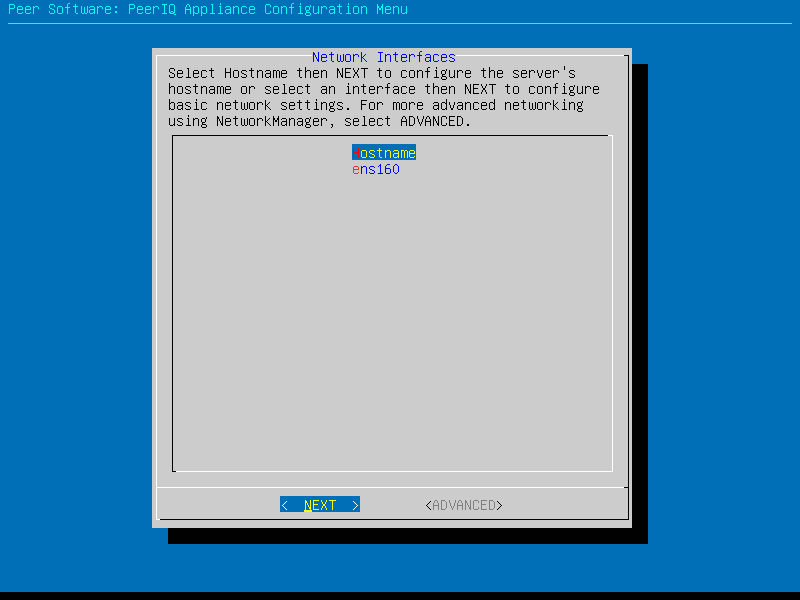
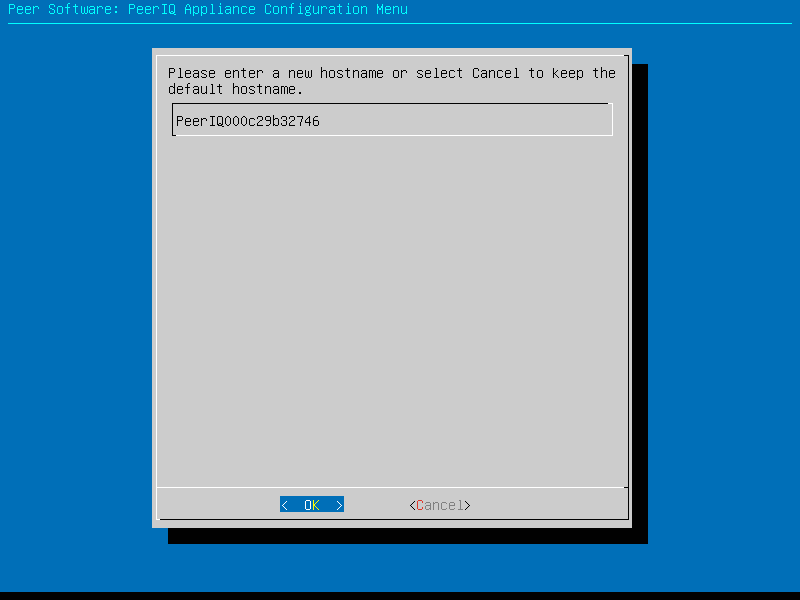
Select Hostname, and then select NEXT to change the hostname of this server.
-
Enter the new hostname, and then select OK.
-
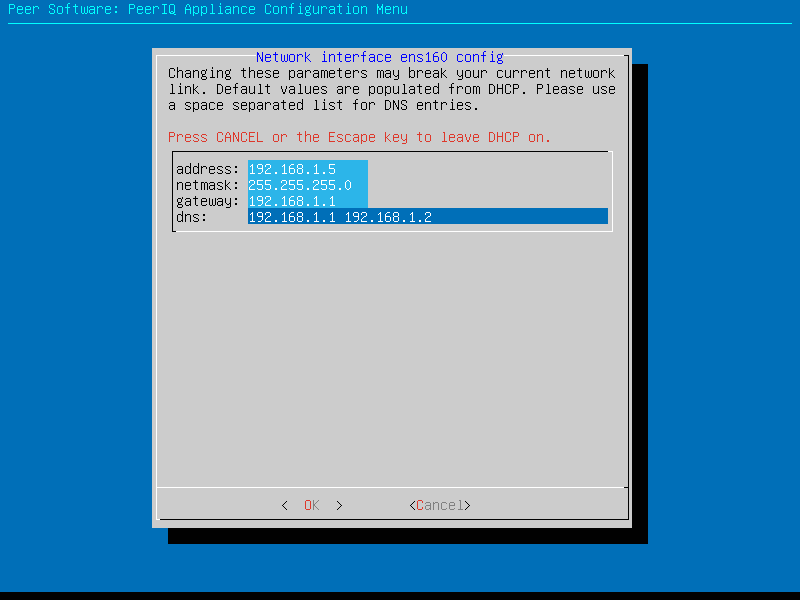
Select a network interface from the list, and then select NEXT for basic networking or select ADVANCED to launch Ubutu's NetworkManager tool (nmtui).
If the network configuration was successful, the DHCP details are displayed.

-
If desired, modify any DHCP parameters, and then click the OK button; otherwise, select Cancel to keep the default parameters.
If you are using SSH to connect to the virtual appliance, any IP changes will disrupt your connection. You will need to reconnect via SSH to the new IP address after clicking the OK button.
-
If you don't want to configure another interface, select No.
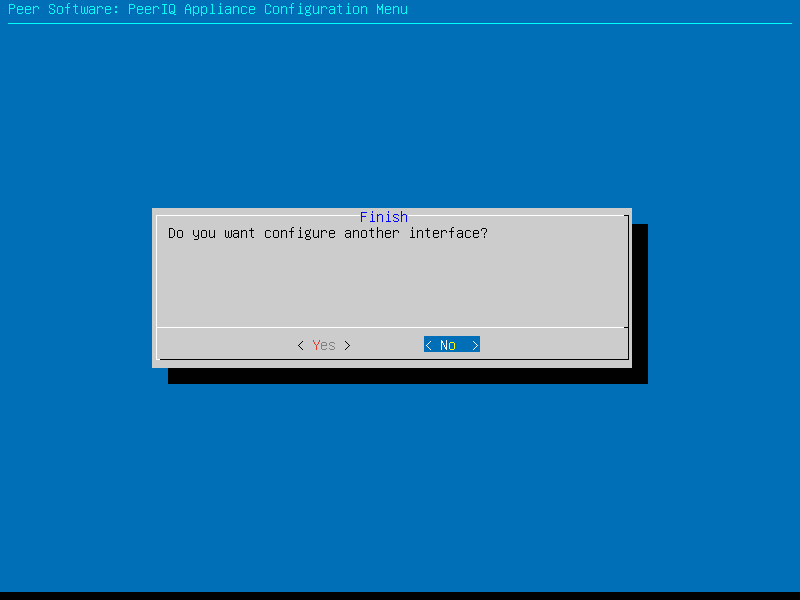
Network configuration is now complete. The Main Menu is displayed.
Task 3: Check for Menu Updates
This task is optional.
-
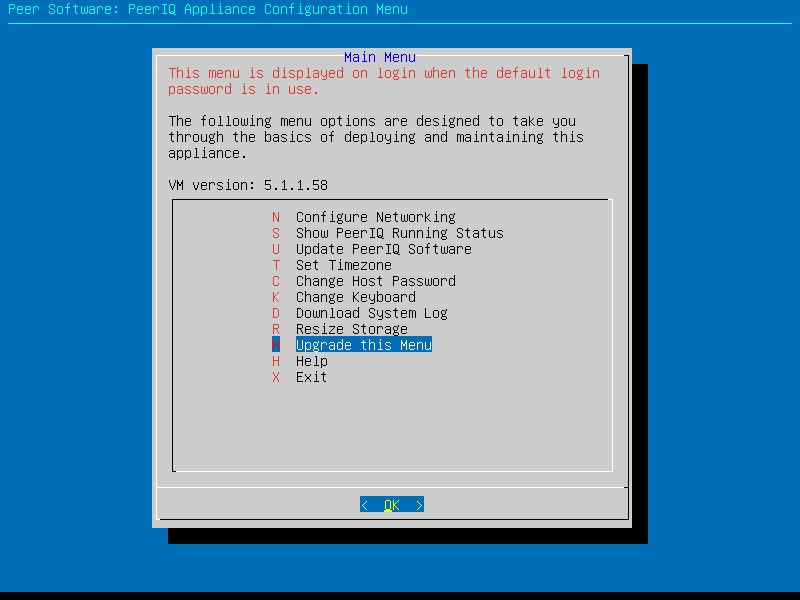
From the Main Menu, select Upgrade this Menu by using the up and down arrows or pressing the letter m on the keyboard, and then press Enter.
-
If an upgrade is available, it will be displayed along with the release notes. Select DOWNLOAD to upgrade; otherwise, select Exit. If no upgrade is available, select OK.
-
After the download is complete, the message Latest update has downloaded successfully! will be displayed.
The new version of the menu will become active after exiting the menu and reopening it. It can be manually launched by running sudo /opt/peersoftware/vm/menu.sh.
Note: The old version of the menu can be found at /opt/peersoftware/vm/previous_menu.sh.
Task 4: Check for Software Updates
This task is optional.
-
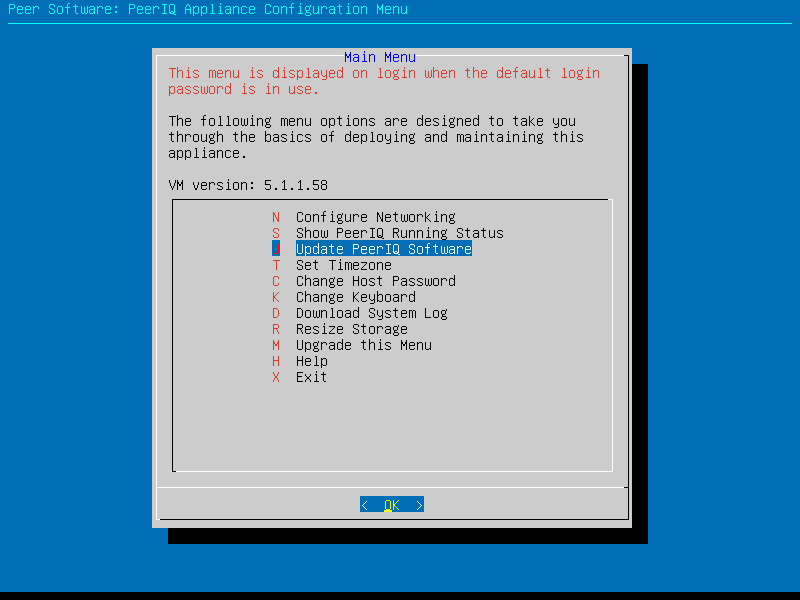
From the Main Menu, select Update PeerIQ Software by using the up and down arrows or pressing the letter u on the keyboard, and then press Enter.
-
If an upgrade is available, it will be displayed along with the release notes. Select Yes to upgrade; otherwise, select No. If no upgrade is available, select OK.
After the download is complete, the message Software has been updated successfully will be displayed.
Task 5: Change the Default Password
It is important to change the host password from the default of password to prevent unauthorized access. Once the password has been changed, the First Boot Wizard will no longer automatically load.
The password must be at least 6 characters and cannot be a complete word. Please store this password in a safe place as it cannot be reset by the Peer Software support team.
-
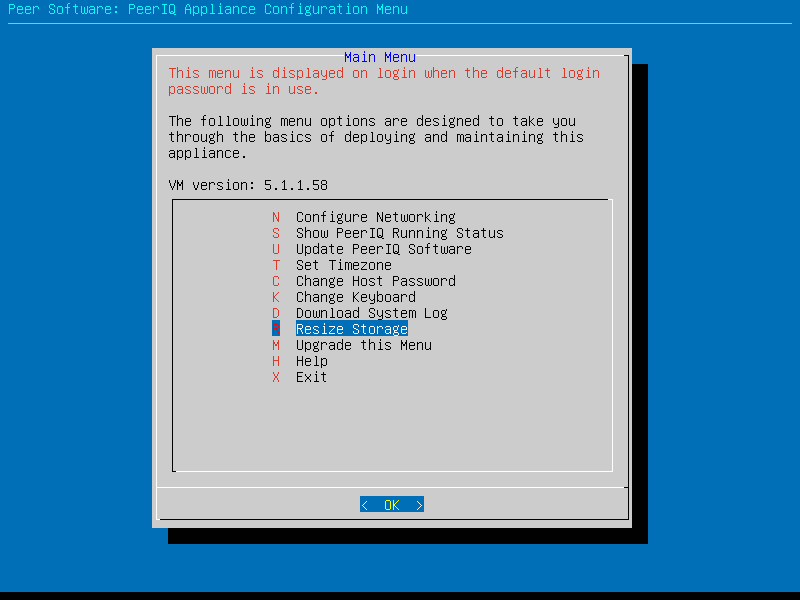
From the Main Menu, select Change Host Password by using the up and down arrows or pressing the letter c on the keyboard, and then press Enter.
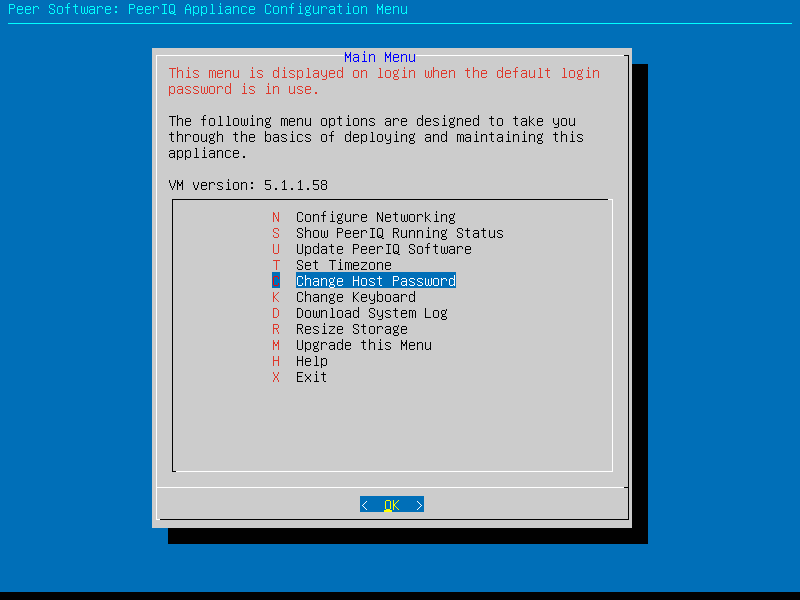
Main Menu screen -
Enter your new password in the next two screens, and then select OK.
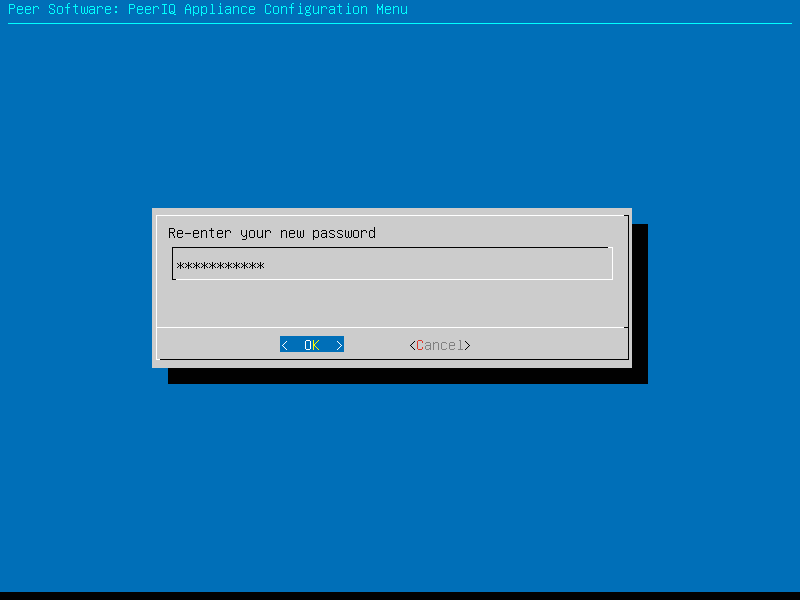
Enter new password prompt -
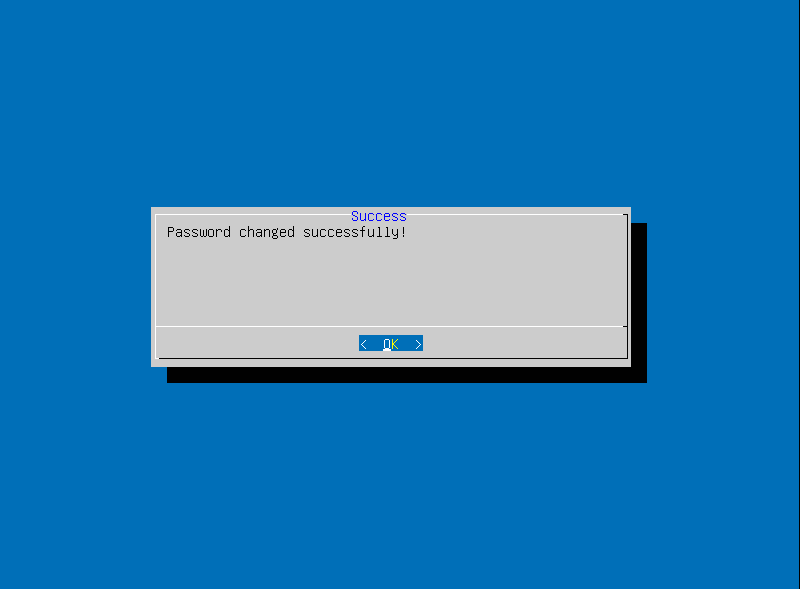
If the password meets all the criteria, a success message will be displayed; select OK.
The PeerIQ virtual appliance is ready for use. The web interface can be accessed from https://<IP address>.
Task 6: Connect PeerIQ to PeerGFS
Once the PeerIQ virtual appliance is up and running, the following steps are required to get data from PeerGFS flowing into PeerIQ:
-
Log in to the PeerIQ web interface.
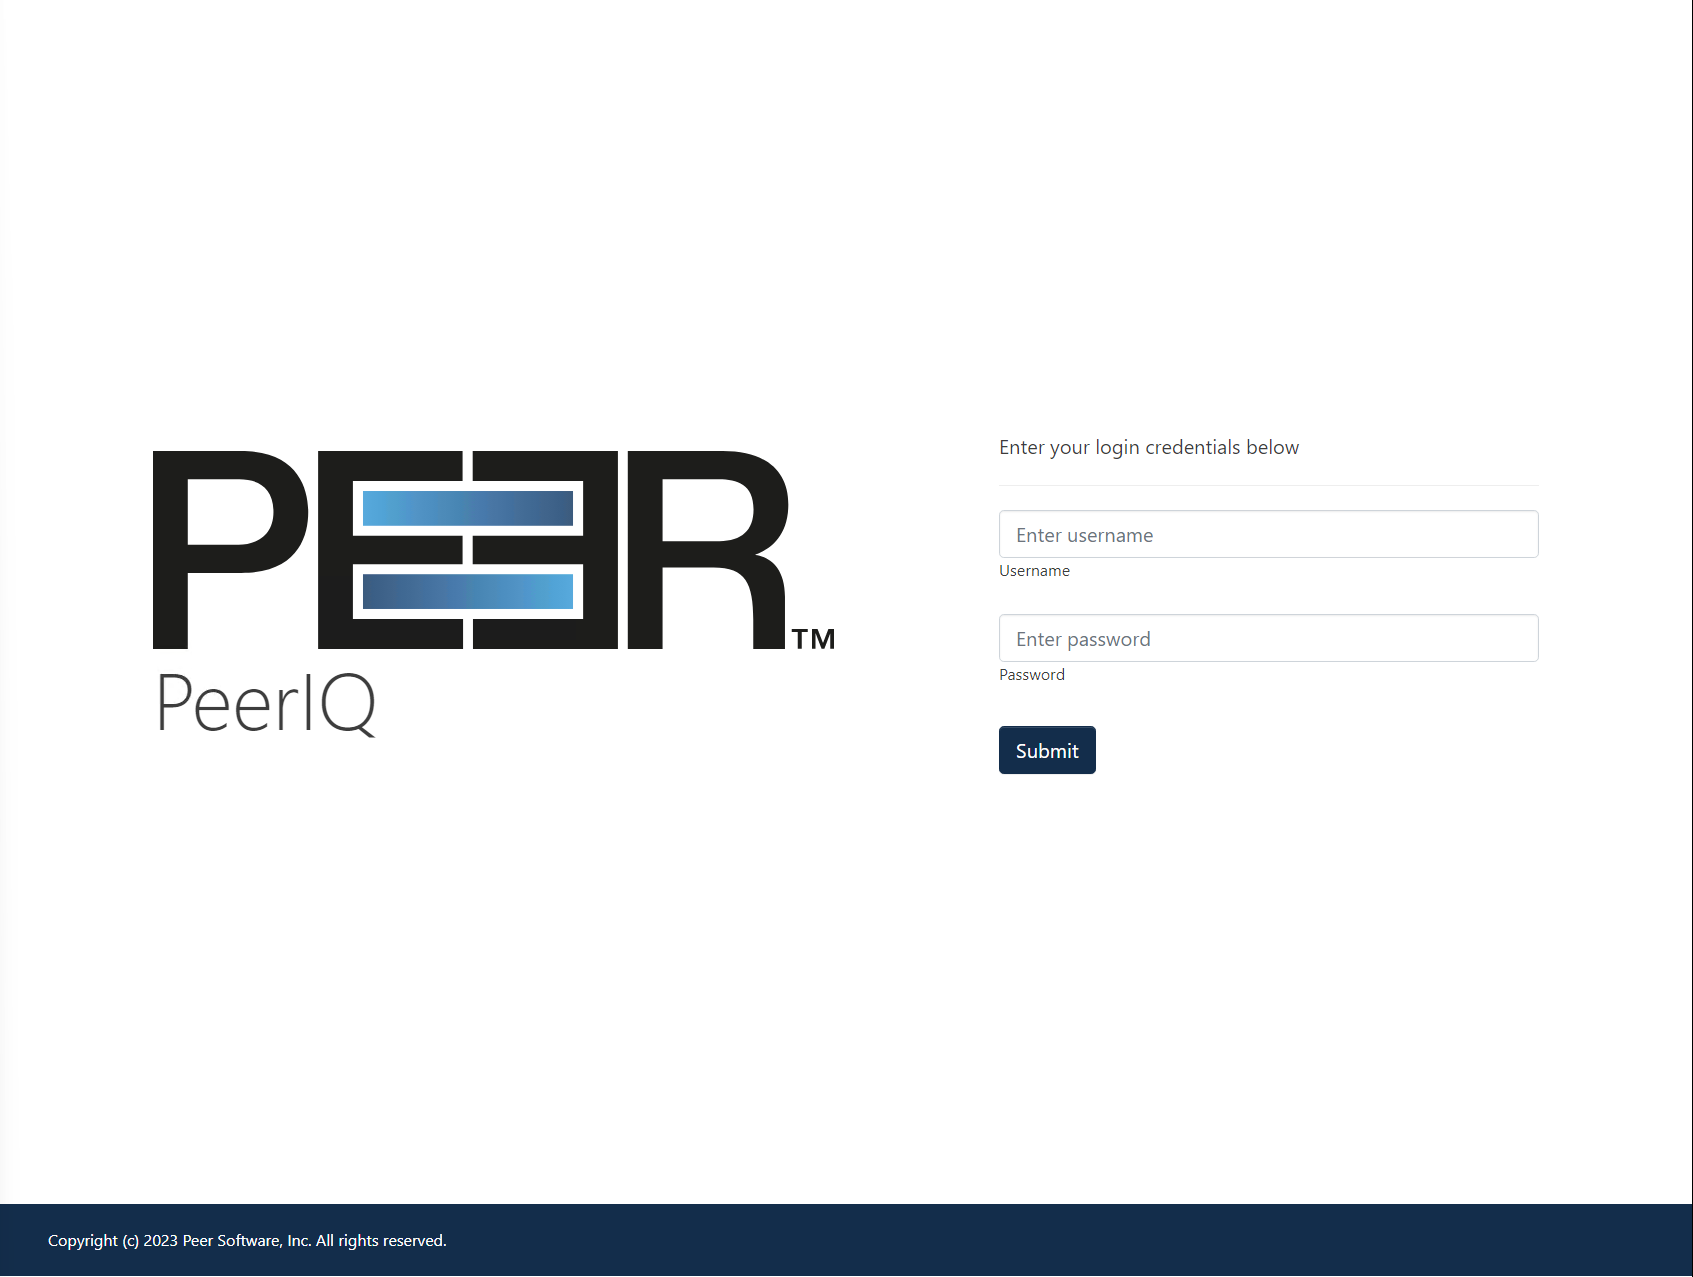
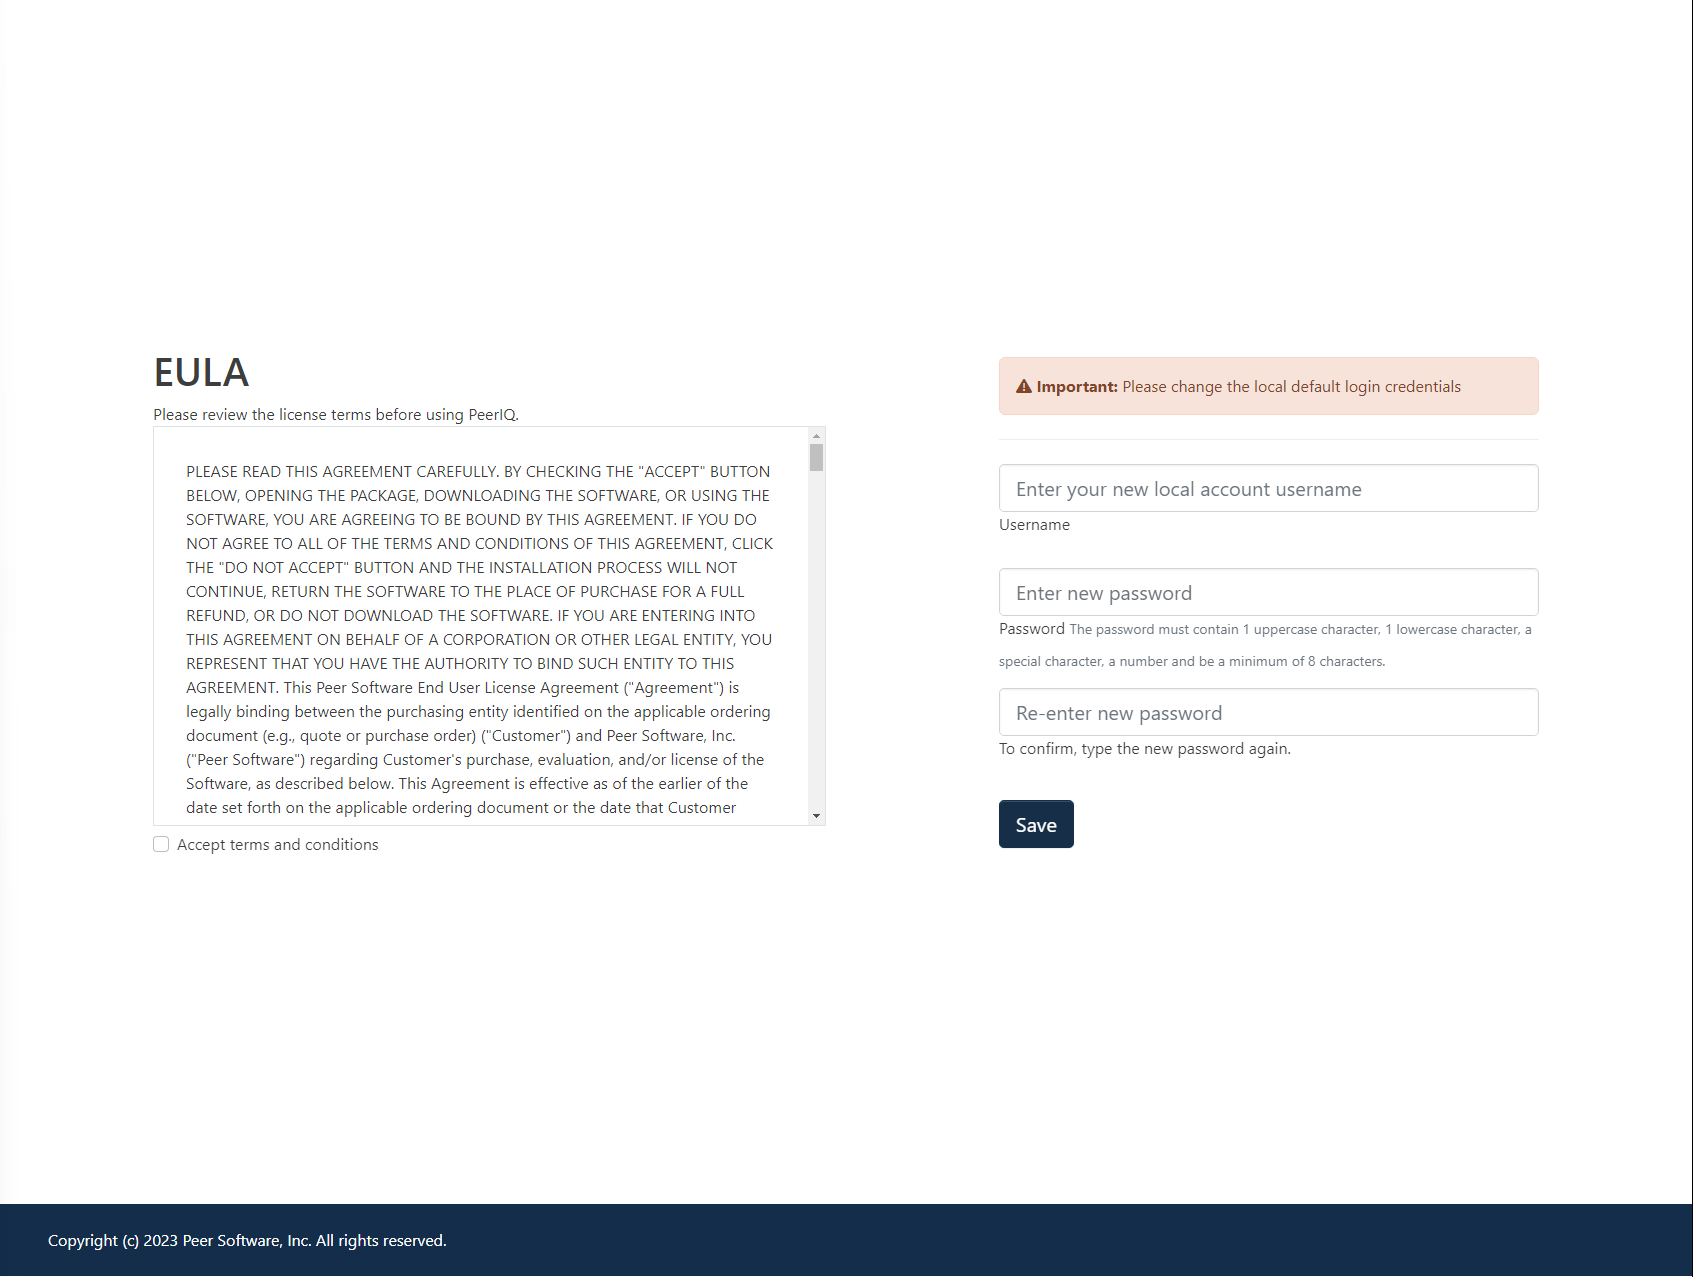
-
If logging into to PeerIQ for the first time, you will be prompted to change your password, and optionally, the default username.
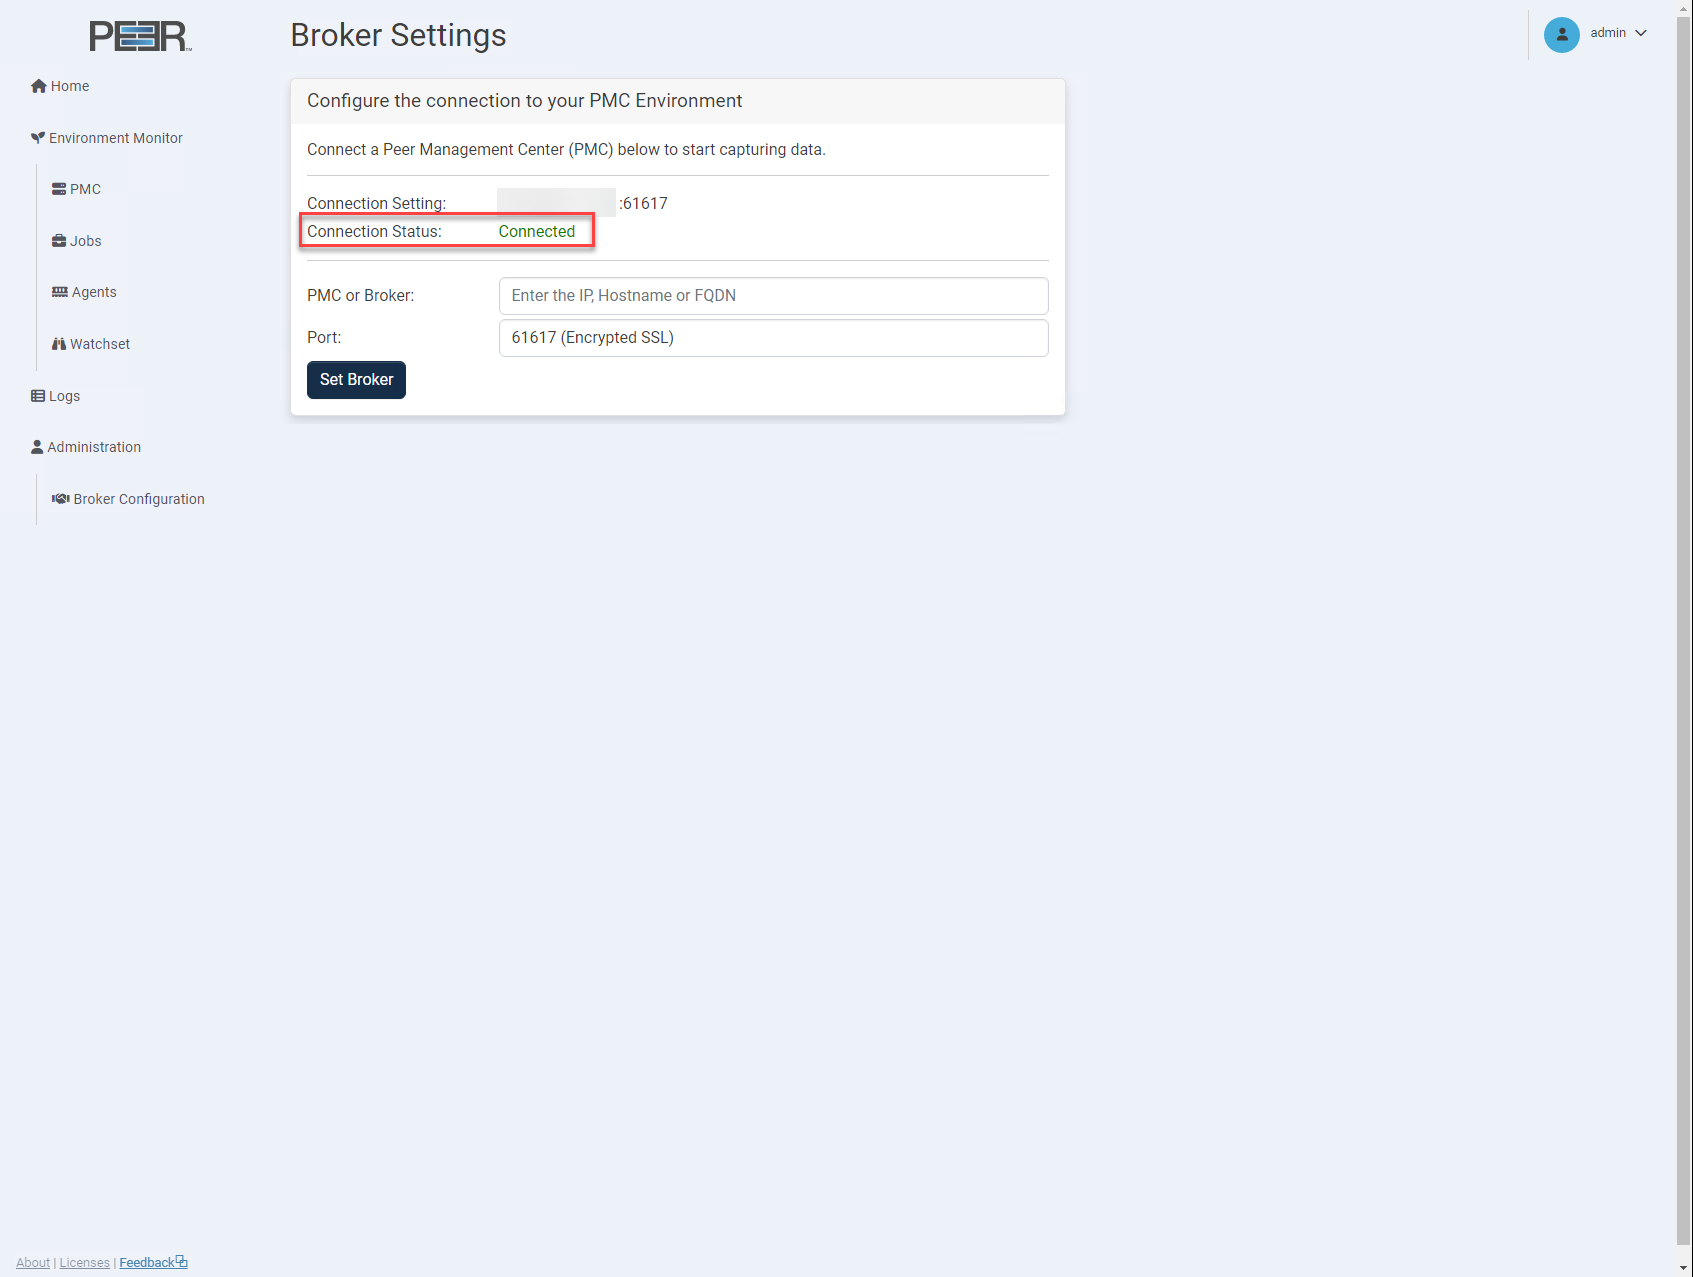
Once logged in, the following page is displayed.
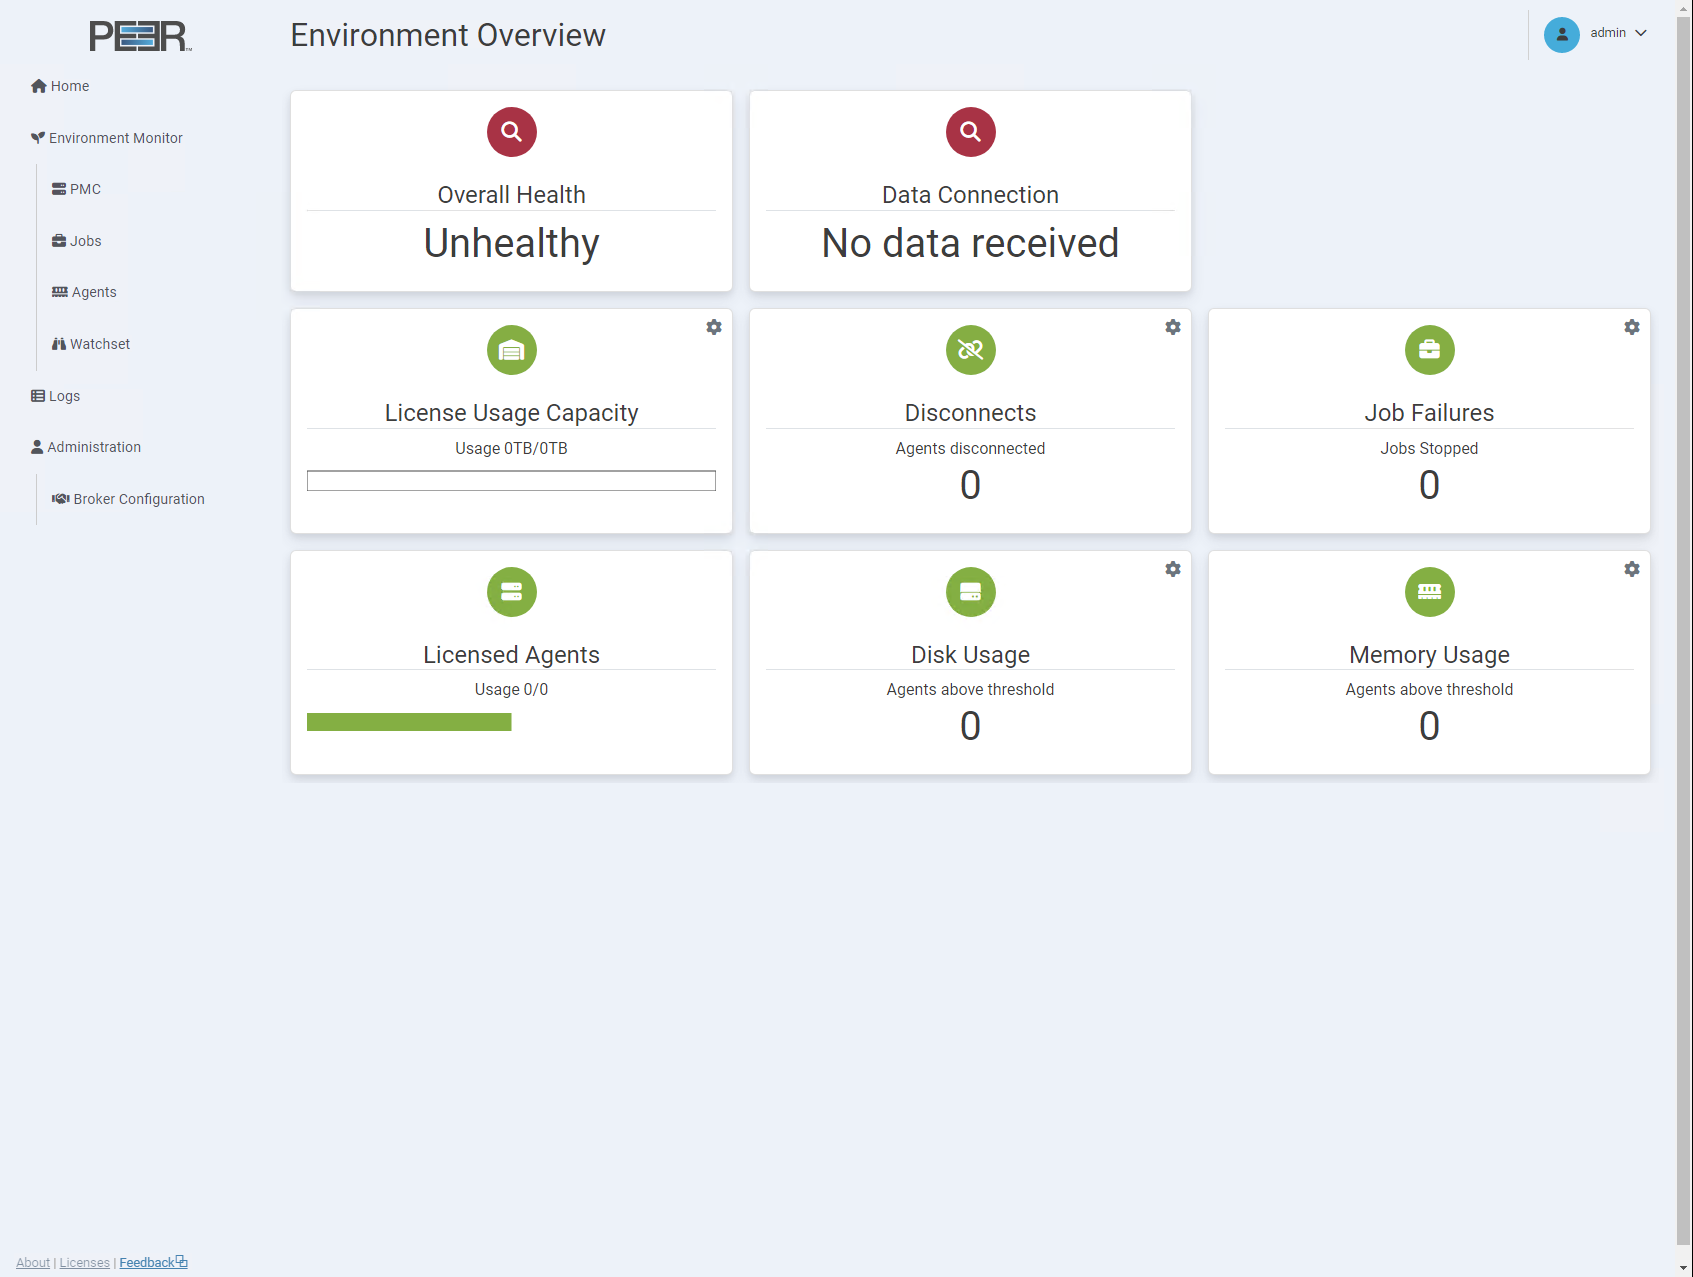
-
Select Broker Configuration in the tree on the left.
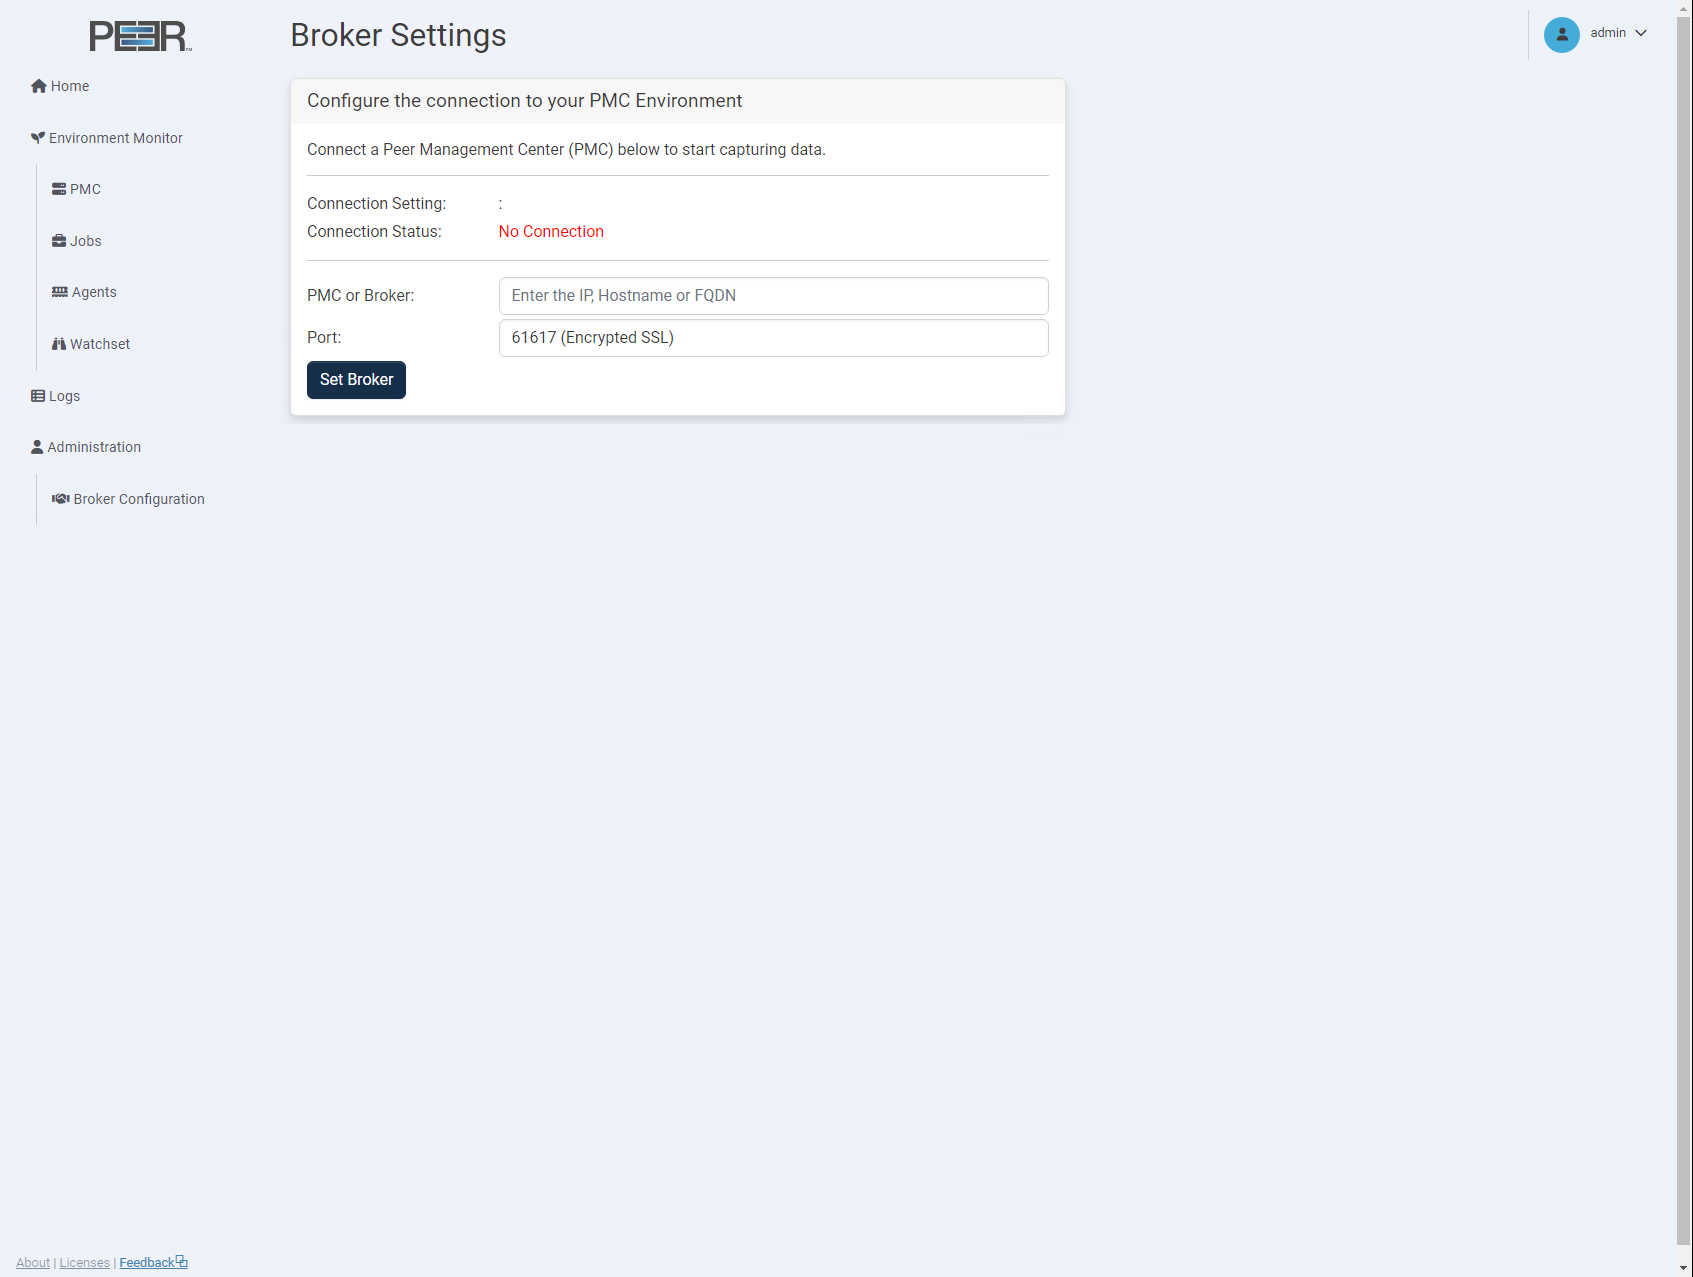
-
Enter the IP address, hostname, or FQDN of your primary PMC server, and then click Set Broker.
After PeerIQ is able to connect to the primary PMC server, the Connection Status field should say Connected.
-
Connect to the PMC client.
-
From the PMC Help menu, select Analytics.
-
Check Enable the sending of analytics data to PeerIQ.
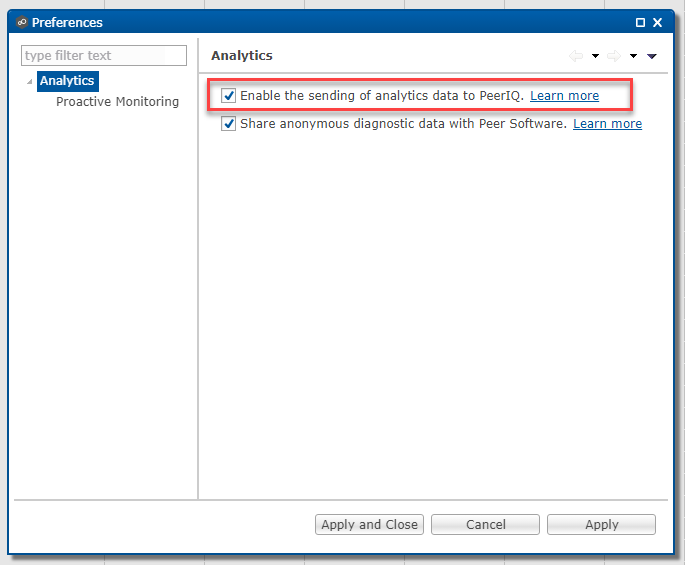
Telemetry data from PeerGFS should now be flowing into PeerIQ. The various report pages in PeerIQ should start showing data within 5 minutes.
Advanced Task: Increasing Usable Storage
You can increase usable storage when you initially set up the appliance or at a later date. If you do it later, you will need to rerun the First Boot Wizard.
The following process relies on the same partitions being present that were shipped with this virtual appliance. We recommend using fdisk instead if you have made any partition changes.
-
Increase the storage size within your Hypervisor. Consult your platform guide (VMware ESXi, Microsoft Hyper-V, or Nutanix Prism) for instructions.
-
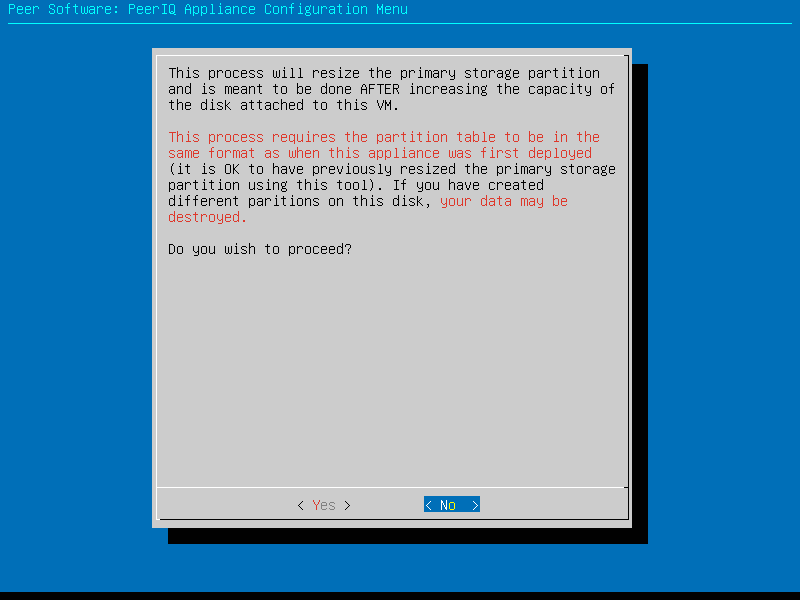
From the main menu of the Peer Software Virtual Appliance wizard, select Resize Storage by using the up and down arrows or pressing the letter r on the keyboard, and then press the Enter key.
-
When asked whether to proceed, select No if you are in any doubt, and contact Peer Software support. Otherwise, select Yes to proceed.
-
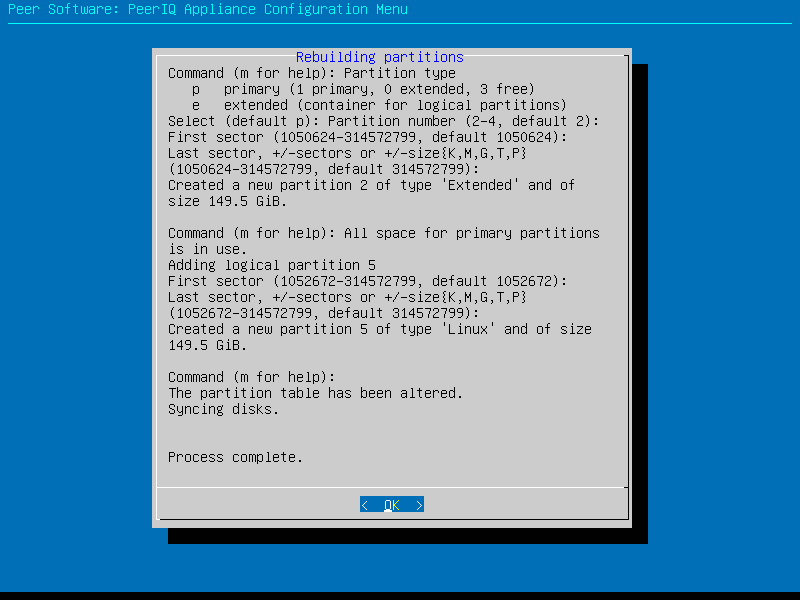
The partition table will be rebuilt, displaying status to the screen. When complete, select OK to continue.
-
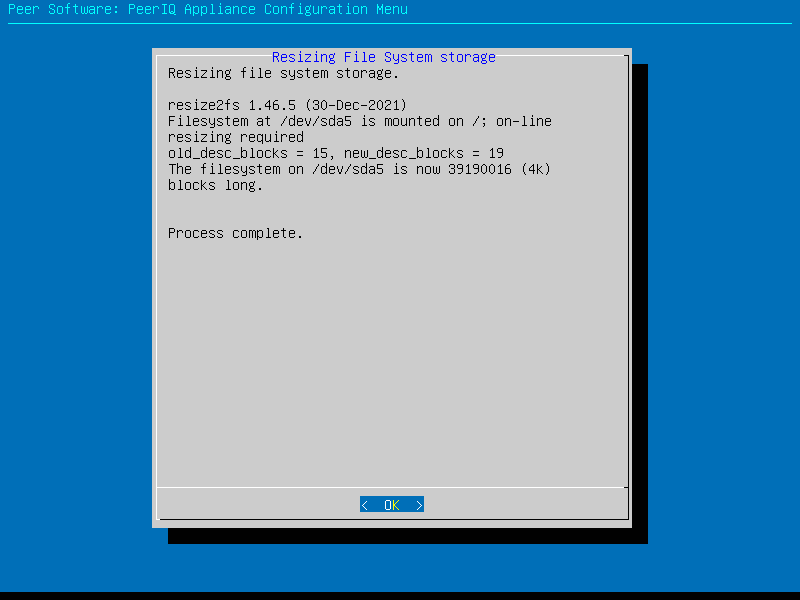
The file system will then be resized; and its status will be display on the screen. When the resizing is complete, select OK to continue.
-
A confirmation message will be displayed, showing the new size of the file system. You will need to restart the virtual appliance in order for the changes to take effect.
Related articles
Page: Can I use PeerSync with Linux, Unix, or NetWare? Page: Getting Started with Multi-Protocol for PeerGFS Page: Getting Started with the PeerIQ Virtual Appliance Page: Getting Started with the PMC Virtual Appliance Page: PeerIQ Page: PeerIQ FAQs Page: PeerIQ How-to Page: PeerIQ Troubleshooting Page: What is PeerIQ?