
This article describes how to install a major upgrade to PeerGFS. If you want to install a minor update, see Update Peer Global File Service (PeerGFS). Major releases require a new license, which can be requested by submitting the Peer Global File Service Upgrade Form. See Peer Software Lifecycle Policy to learn more about Peer Software major and minor releases.
Update versus upgrade
While update and upgrade are frequently used interchangeably in the technology domain, there is a subtle distinction between them. An update, often referred to as a patch, generally involves enhancements or fixes to the current version of the software, aiming to improve its performance or address issues. On the other hand, an upgrade usually entails transitioning to an entirely new version of the software, often incorporating significant changes or additional features beyond what was available in the previous version. In general, the processes for updating and upgrading are very similar; however, upgrading usually involves getting a new license version and a few additional steps.
Before you begin
Ensure that your environment is compliant with the Peer Global File Service environmental requirements by reviewing Peer Global File Service - Environmental Requirements. Note that it is crucial to disable anti-malware and anti-virus software that may interfere with the installation and running of PeerGFS. Review the list of services that must be exempted from such software. More details can be found here.
Upgrading from releases prior to v4.5.2
Customers running PeerGFS v4.5.2 and above can upgrade directly to PeerGFS v5.1. Customers running releases prior to v4.5.2 will first need to upgrade to v4.7, then upgrade to v5.1.
If you need to perform a two-step upgrade, please contact Peer Software support or request a v4.7 temporary license by submitting the Peer Global File Service Upgrade Form.
Overview of the PeerGFS upgrade process
The PeerGFS upgrade process is outlined below:
Task 1. Check to see whether an upgrade is available.
Task 2. Obtain a new license.
Task 3. Back up the current PeerGFS configuration.
Task 4. Download the Peer Management Center Installer on all PMC servers.
Task 5. Install the new version of Peer Management Center.
Task 6. Install the new license.
Task 7. Upgrade Peer Management brokers.
Task 8. Upgrade Peer Agents.
Task 9. Upgrade clustered Agents.
Technical Note: Clustered versus non-clustered Peer Agents
Within this article, we differentiate between an Agent and a clustered Agent:
-
An Agent is one that that is installed directly on a server. This is the typical Agent installation.
-
A clustered Agent is one that is operating in an Windows Failover Cluster environment. Microsoft Failover Clustering is a capability built into Windows Server 2008 Enterprise and later that allows running applications and services to migrate between two or more nodes (Windows servers) to mitigate downtime due to the failure of a single node. Within this clustering framework, an application or service is only operational on a single node at any given time.
A Peer Agent can be attached to and interact with a clustered file server role operating in a Windows Failover Cluster environment. Once configured, the Peer Agent Service will operate within the context of the file server role, using the same storage, IP address, and DNS name of the role. All Agent capabilities are available as if the Agent was installed on a normal Windows File Server. In the event that the cluster node actively hosting the file server role and Peer Agent fails, both elements will automatically be moved and restarted on another node. After a brief period of time following the failover to another node, the Agent will reconnect and all jobs set to auto-start will begin.
See the step-by-step guide for detailed instructions on the upgrade process.
Step-by-step guide
Task 1. Check to see whether an upgrade is available.
Check to see whether a new version of PeerGFS is available (see Check for a new version of PeerGFS for instructions):
-
If Peer Software has already provided you with a link to the upgrade and a new license key, you can skip this task and proceed to Task 3. Back up the current PeerGFS configuration.
-
If a major upgrade is available, proceed to Task 2. Obtain a new license.
-
If a minor update is available, continue with Update Peer Global File Service (PeerGFS).
Task 2. Obtain a new license.
To obtain a new license:
-
Request the license using the Peer Global File Service Upgrade Form. The new license will be emailed to you.
-
Download the license file and store it a readily accessible place. You will need this file after installing the upgrade.
Task 3. Back up the current PeerGFS configuration.
PeerGFS configuration information and logs from previous installations are automatically saved during the installation of Peer Management Center. However, for an additional layer of protection, we strongly recommend that you manually back up PeerGFS. For step-by-step instructions, see Back up your PeerGFS configuration manually.
Task 4. Download the Peer Management Center Installer.
-
Peer Software will email you a link to download the Peer Management Center (PMC) installer. Contact Peer Support if, for some reason, you do not receive the link.
-
Download the PMC installer to a readily accessible place on your PMC server (such as a folder on the Desktop or under ~/).
Task 5. Install the new version of Peer Management Center.
If you only have a single Peer Management Center (PMC) server, use the appropriate steps below to install the new PMC version on that server:
Upgrade Peer Management Center on Windows
To install the new version of Peer Management Center on Windows:
-
Navigate to where you downloaded the Peer Management Center installer on the PMC server.
-
Right-click the installer and select Run as administrator.
The installation wizard dialog appears. -
When the Welcome page of the Setup Wizard appears, click Next.
The setup wizard detects the currently installed version. The first action that the installer takes is to uninstall the old version. This will not uninstall your jobs or configuration data.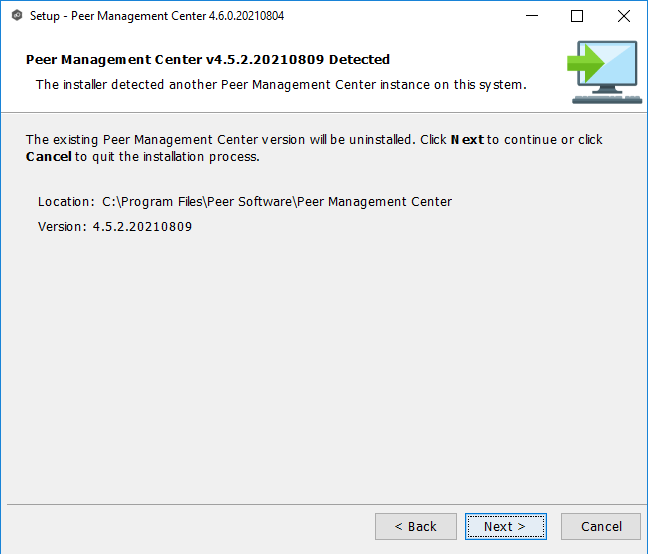
-
Click Next.
The License Agreement page appears. -
Select I accept the agreement to accept the license terms and conditions, and then click Next.
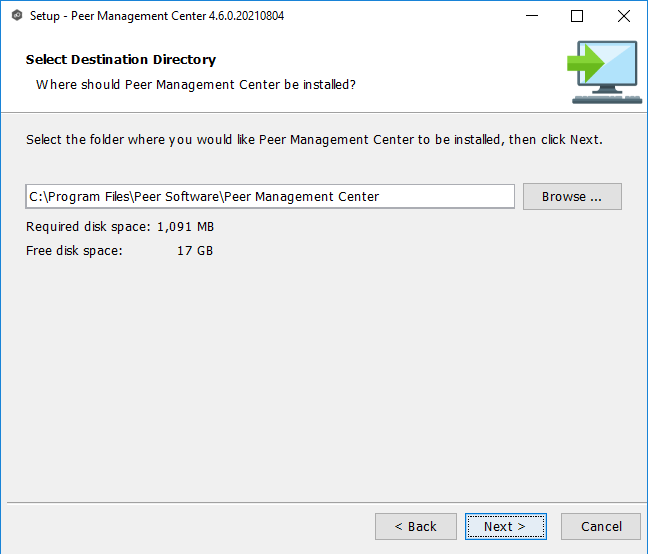
The Select Destination Directory page appears. -
Click Next to select the previous installation folder.
The Select Start Menu Folder page appears. -
Click Next to accept the default Start Menu folder location.
The Installing page appears. It shows the progress of the installation. At this point, all Peer services are stopped.
After the installation is completed, the wizard presents several options: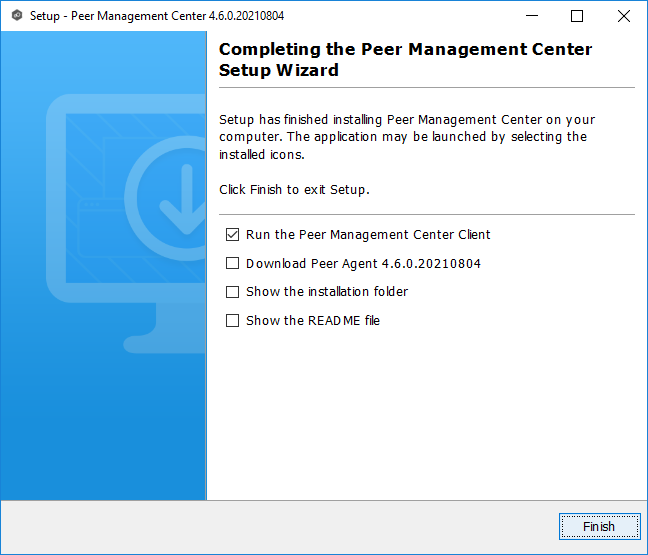
-
Select your options.
Option
Description
Run the Peer Management Center Client
Select this option to open the Peer Management Center rich client.
Download Peer Agent installer
Select this option if you want a copy of the Agent installer so that you can manually update an Agent or if you want to add a new Agent to your environment.
Show the Installation folder
Select this option to view the Peer Management Center installation folder.
Show the README file
Select this option to open the Peer Management Center read-me file.
-
Click Finish to finalize the installation.
After the installation is finalized, Peer services are automatically restarted, and the main Peer Management Center window reappears. Notice the Agents will be displayed in red in the Agents view, indicating that they need to be updated.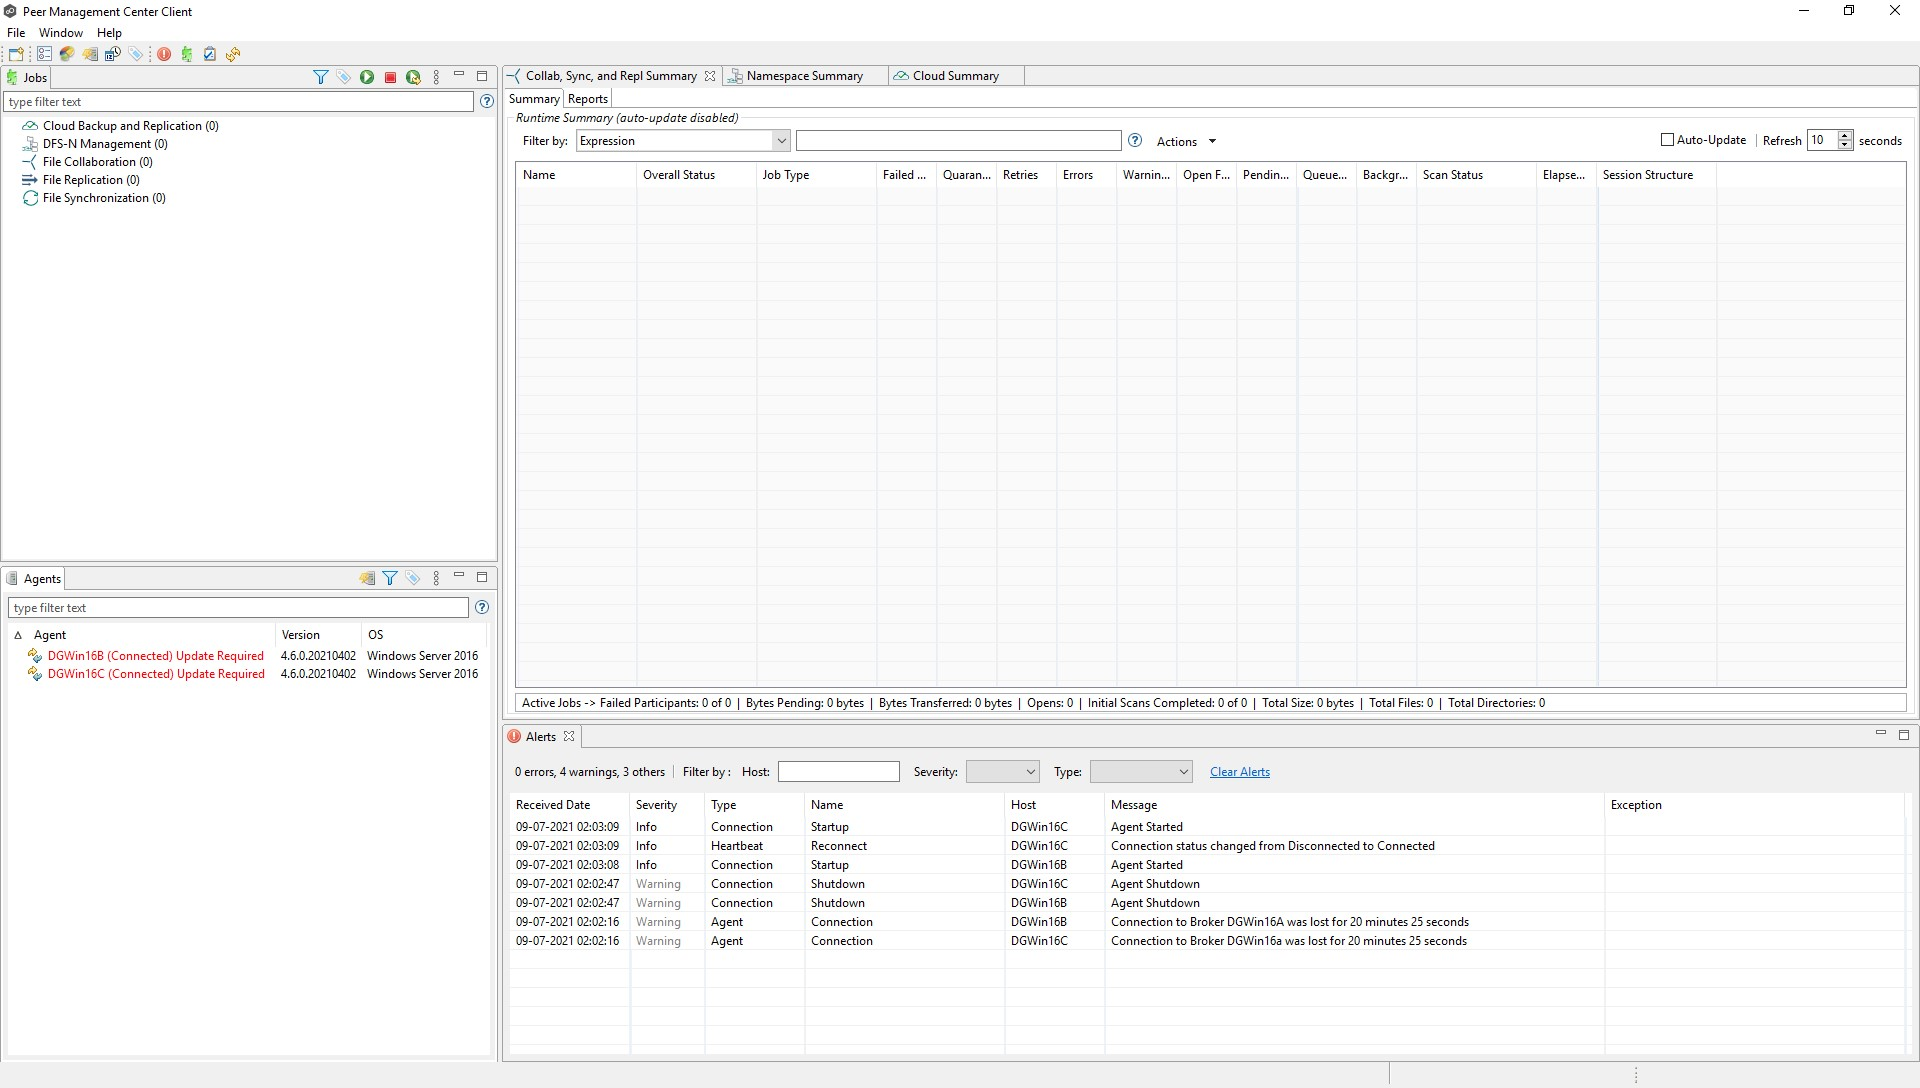
If you have an active-passive PMC configuration, follow these steps to install the new PMC version:
-
If using automatic failover, disable this capability. For details on where to find this option, see Achieving high availability for the PMC through active-passive configuration (v6.0 and later) | Configure automatic failover.
-
Install the new version first on the passive PMC using the appropriate steps earlier in this task.
-
Install the new version on the primary PMC server using the appropriate steps earlier in this task.
-
Do NOT re-enable automatic failover until you have upgraded your broker(s), as discussed in Task 7 below.
Task 6. Install the new license.
See Install a new PeerGFS license for details on installing the new license file.
Task 7. Upgrade Peer Management brokers.
If you are not using the Network of Brokers or automated failover between active/passive PMCs, you can skip this task.
In versions prior to v6.0, the process of updating Peer Management brokers is manual. Once you upgrade to v6.0, you can update brokers within the PMC.
Upgrade Brokers from within Peer Management Center
If you are running PeerGFS v6.0 or later, this is the preferred method for upgrading brokers. It will work with both Windows-based and Linux-based Peer Management brokers.
To upgrade connected Peer Management brokers through Peer Management Center, follow these steps:
-
Open Peer Management Center.
-
In the Brokers view, right-click on a broker that appears with "Update Required" and select Install Software Update.

Note that if this option is unavailable as seen below, you are using an older version of the Peer Management broker that cannot be updated from the PMC. Follow the steps below to manually update this broker. After this manual update, future updates should be possible through the PMC.
-
The update process begins immediately. When complete, the selected broker should now be listed as Online with a green icon.

-
Repeat for all other brokers.
If you had previously configured automatic failover of the PMC, you may re-enable it now. For details on where to find this option, see Achieving high availability for the PMC through active-passive configuration (v6.0 and later) | Configure automatic failover.
Task 8. Upgrade Peer Agents.
The process for upgrading Agents depends on whether they are clustered Agents (Agents that are attached to a Windows Failover Cluster) or non-clustered Agents:
-
If your PeerGFS environment doesn't contain any clustered Agents, follow the instructions in this step.
-
If your PeerGFS environment consists of clustered Agents, follow the instructions in Task 9.
-
If your PeerGFS environment contains a mixture of both clustered and non-clustered Agents, follow the relevant instructions for each Agent.
Peer Management Center provides the ability to directly download and install software updates for Agents from within Peer Management Center. If, for some reason, the update through Peer Management Center fails or times out, you can manually update the Agent.
Upgrade Agents from within Peer Management Center
This is the preferred method for upgrading Agents. It will work with both Windows-based and Linux-based Peer Agents and regardless of the operating system hosting Peer Management Center.
To upgrade connected Agents through Peer Management Center, follow these steps:
-
Open Peer Management Center.
-
In the Agent view, select all connected Agents to be upgraded.
-
Right-click and select Install Software Updates.
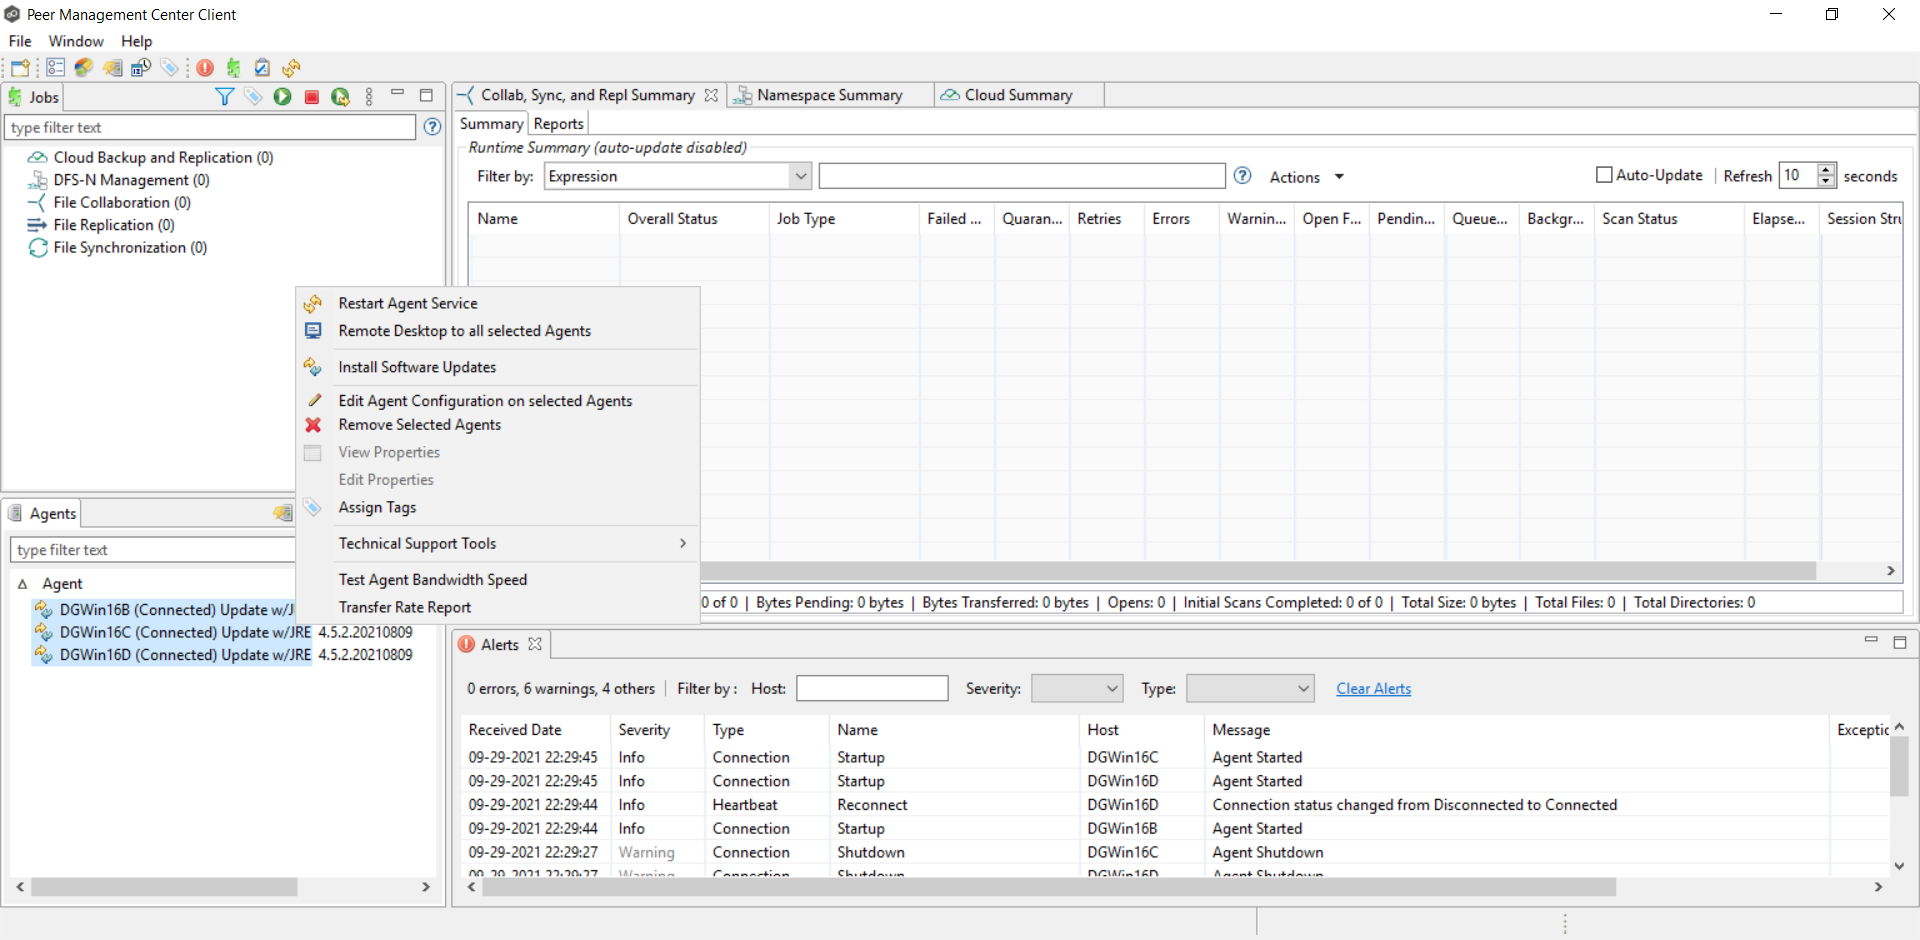
The Install Agent Software Update dialog appears.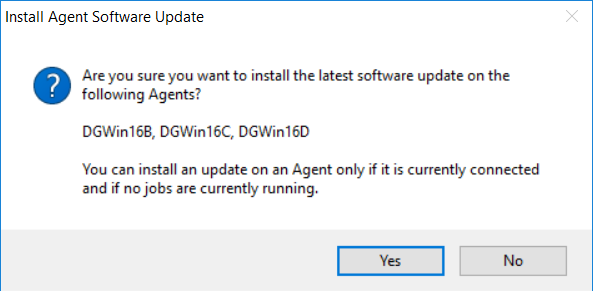
-
Click Yes.
The Agents are automatically disconnected and the Agent update process begins. The installation process can take several minutes, depending on your connection speed and on the version of the Agent from which you are upgrading. Initially, the Agents will be disconnected and will be displayed in red. Once an Agent is upgraded, its status should be shown as Connected and will be displayed in green.
-
Once all Agents are upgraded, restart your jobs.
Task 9. Upgrade clustered Agents.
The following steps describe how to upgrade existing Agents in Windows Failover Cluster environments.
These instructions do not apply to adding new Agents to a cluster. Contact Peer Support for information on how to attach a new Agent to a Windows Failover Cluster.
Related articles
- Back up your PeerGFS configuration manually
- Cannot upgrade PeerIQ virtual appliance via the console menu
- Cannot upgrade PMC virtual appliance via the console menu
- Check for a new version of PeerGFS
- Configure the Agent installer to run unattended
- Configure the PeerSync Listener installer to run unattended
- Getting Started with Network of Brokers
- How do I install Health Checker on a remote server?
- Install a new PeerGFS license
- JRE is corrupt error message appears during installation of the PMC or Agent
- Move a Peer Agent to another Windows server
- Move Peer Management Center to another machine
- Peer Software Lifecycle Policy
- Update Peer Global File Service (PeerGFS)
- Update PeerIQ
- Upgrade Peer Global File Service (PeerGFS)
- Upgrade PeerSync and PeerSync Listener
- Using a Peer Agent in a Windows Failover Cluster
- Where can I find the installers for PeerGFS components?
- Where can I find the installers for PeerSync components?
- Why isn't my PeerSync license key working?